

Lighting — 02
Distortion
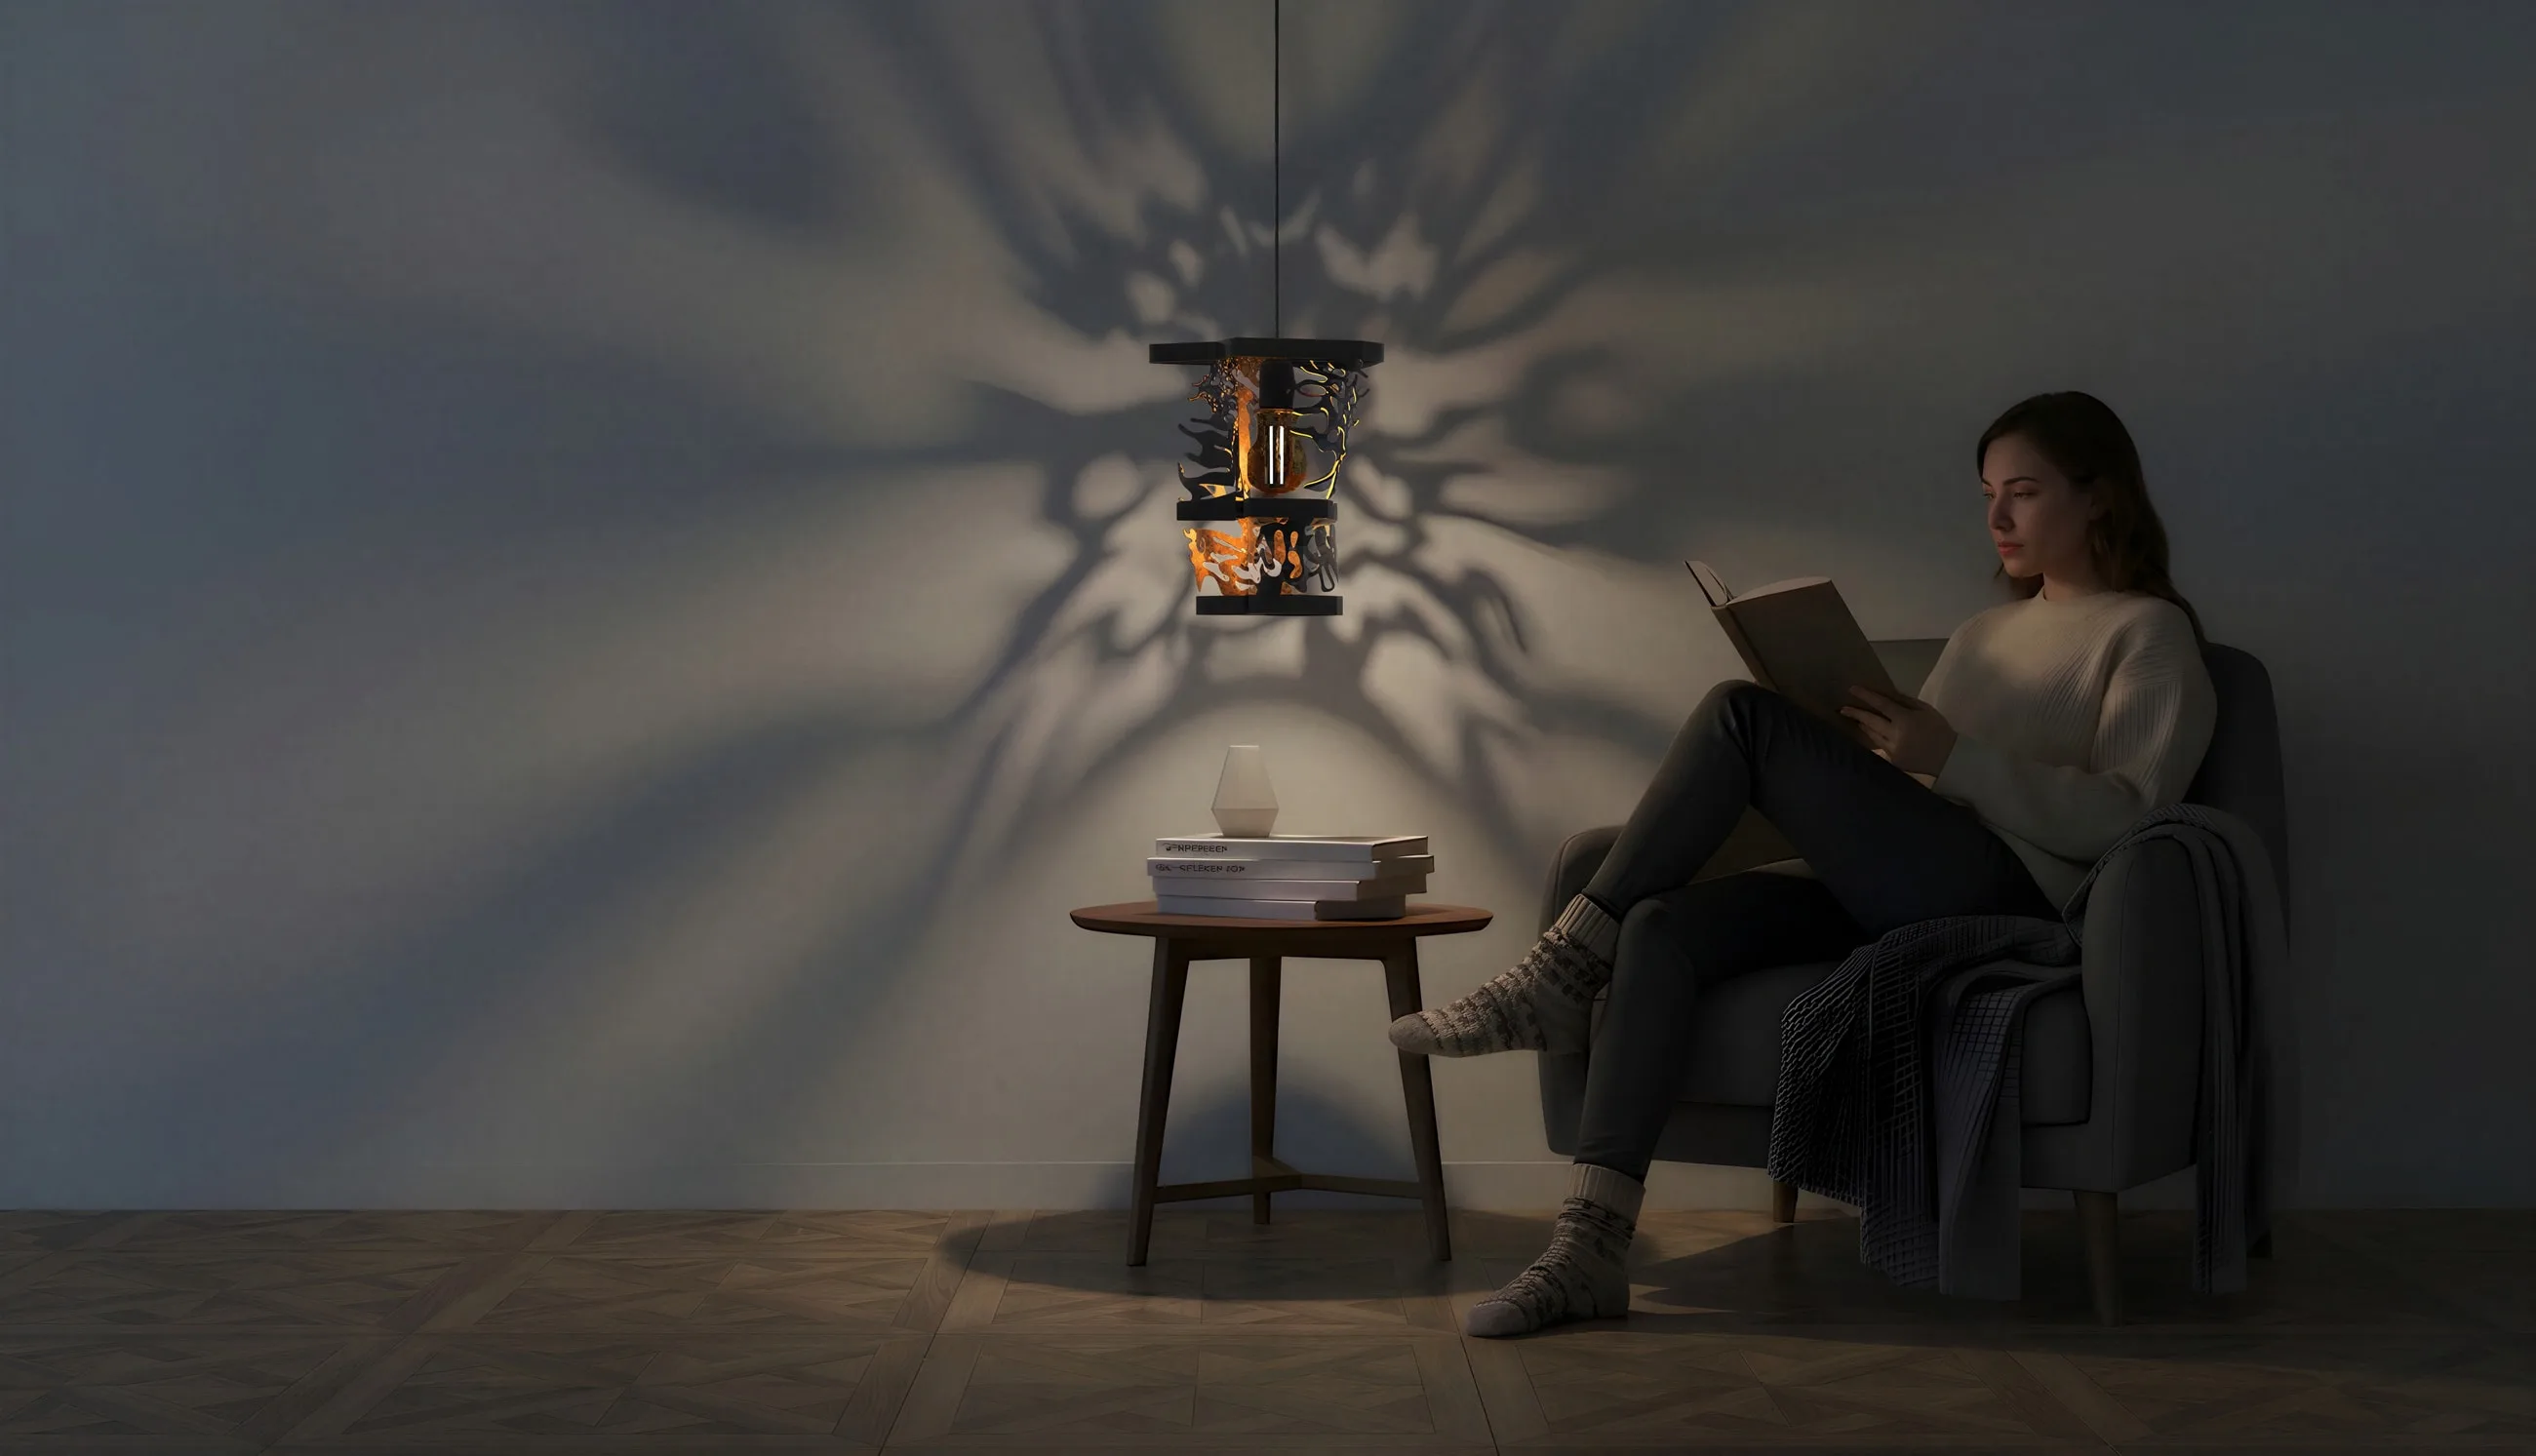
A pendant lamp of layered, laser-cut steel and aluminium — its silhouette pulled from the way light bends around a black hole.
The idea
Distortion started as a question about gravity rather than lighting: what does a form look like if it's been warped by something massive and unseen?
Layered spline patterns, cut and offset from one another, stand in for the way light curves around a black hole's event horizon — built up rather than smoothed over. The matte black exterior absorbs, and the inner bulb radiates through the perforations.
Class exhibition
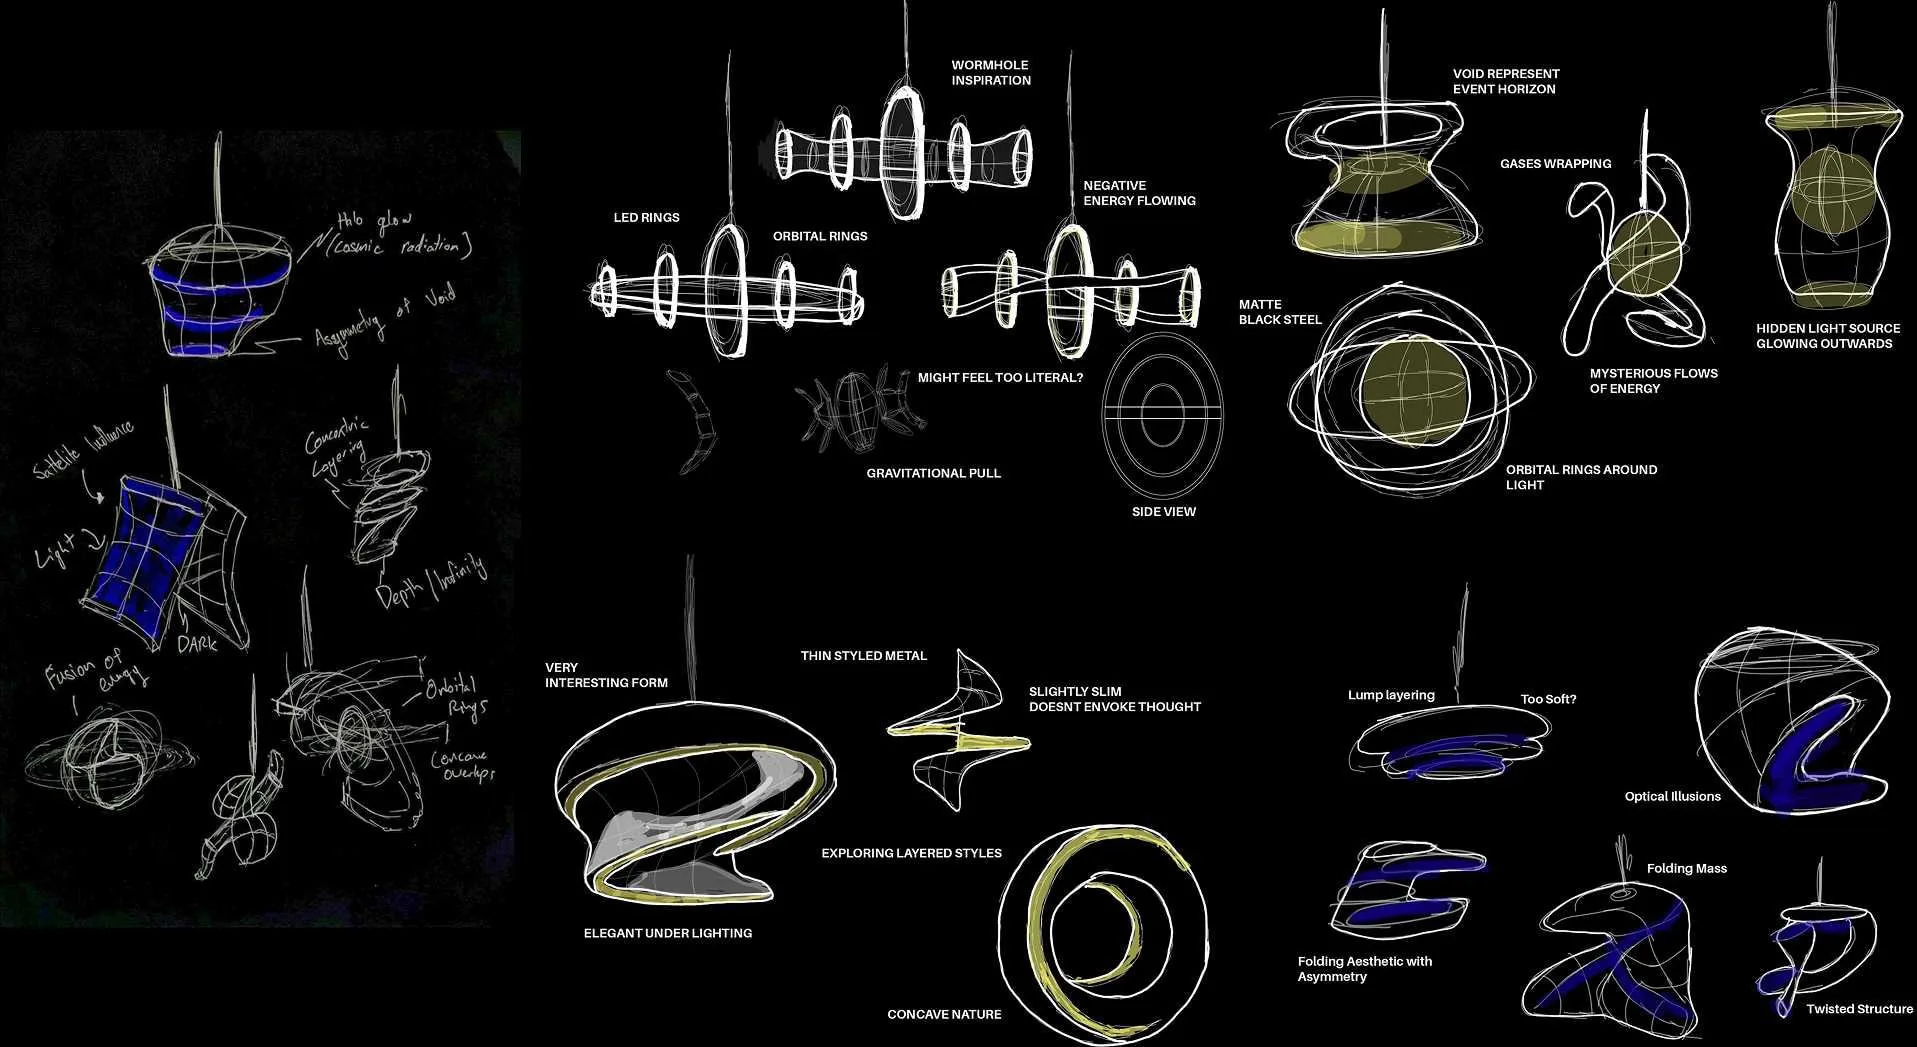
Three concepts went up. One came back ahead.
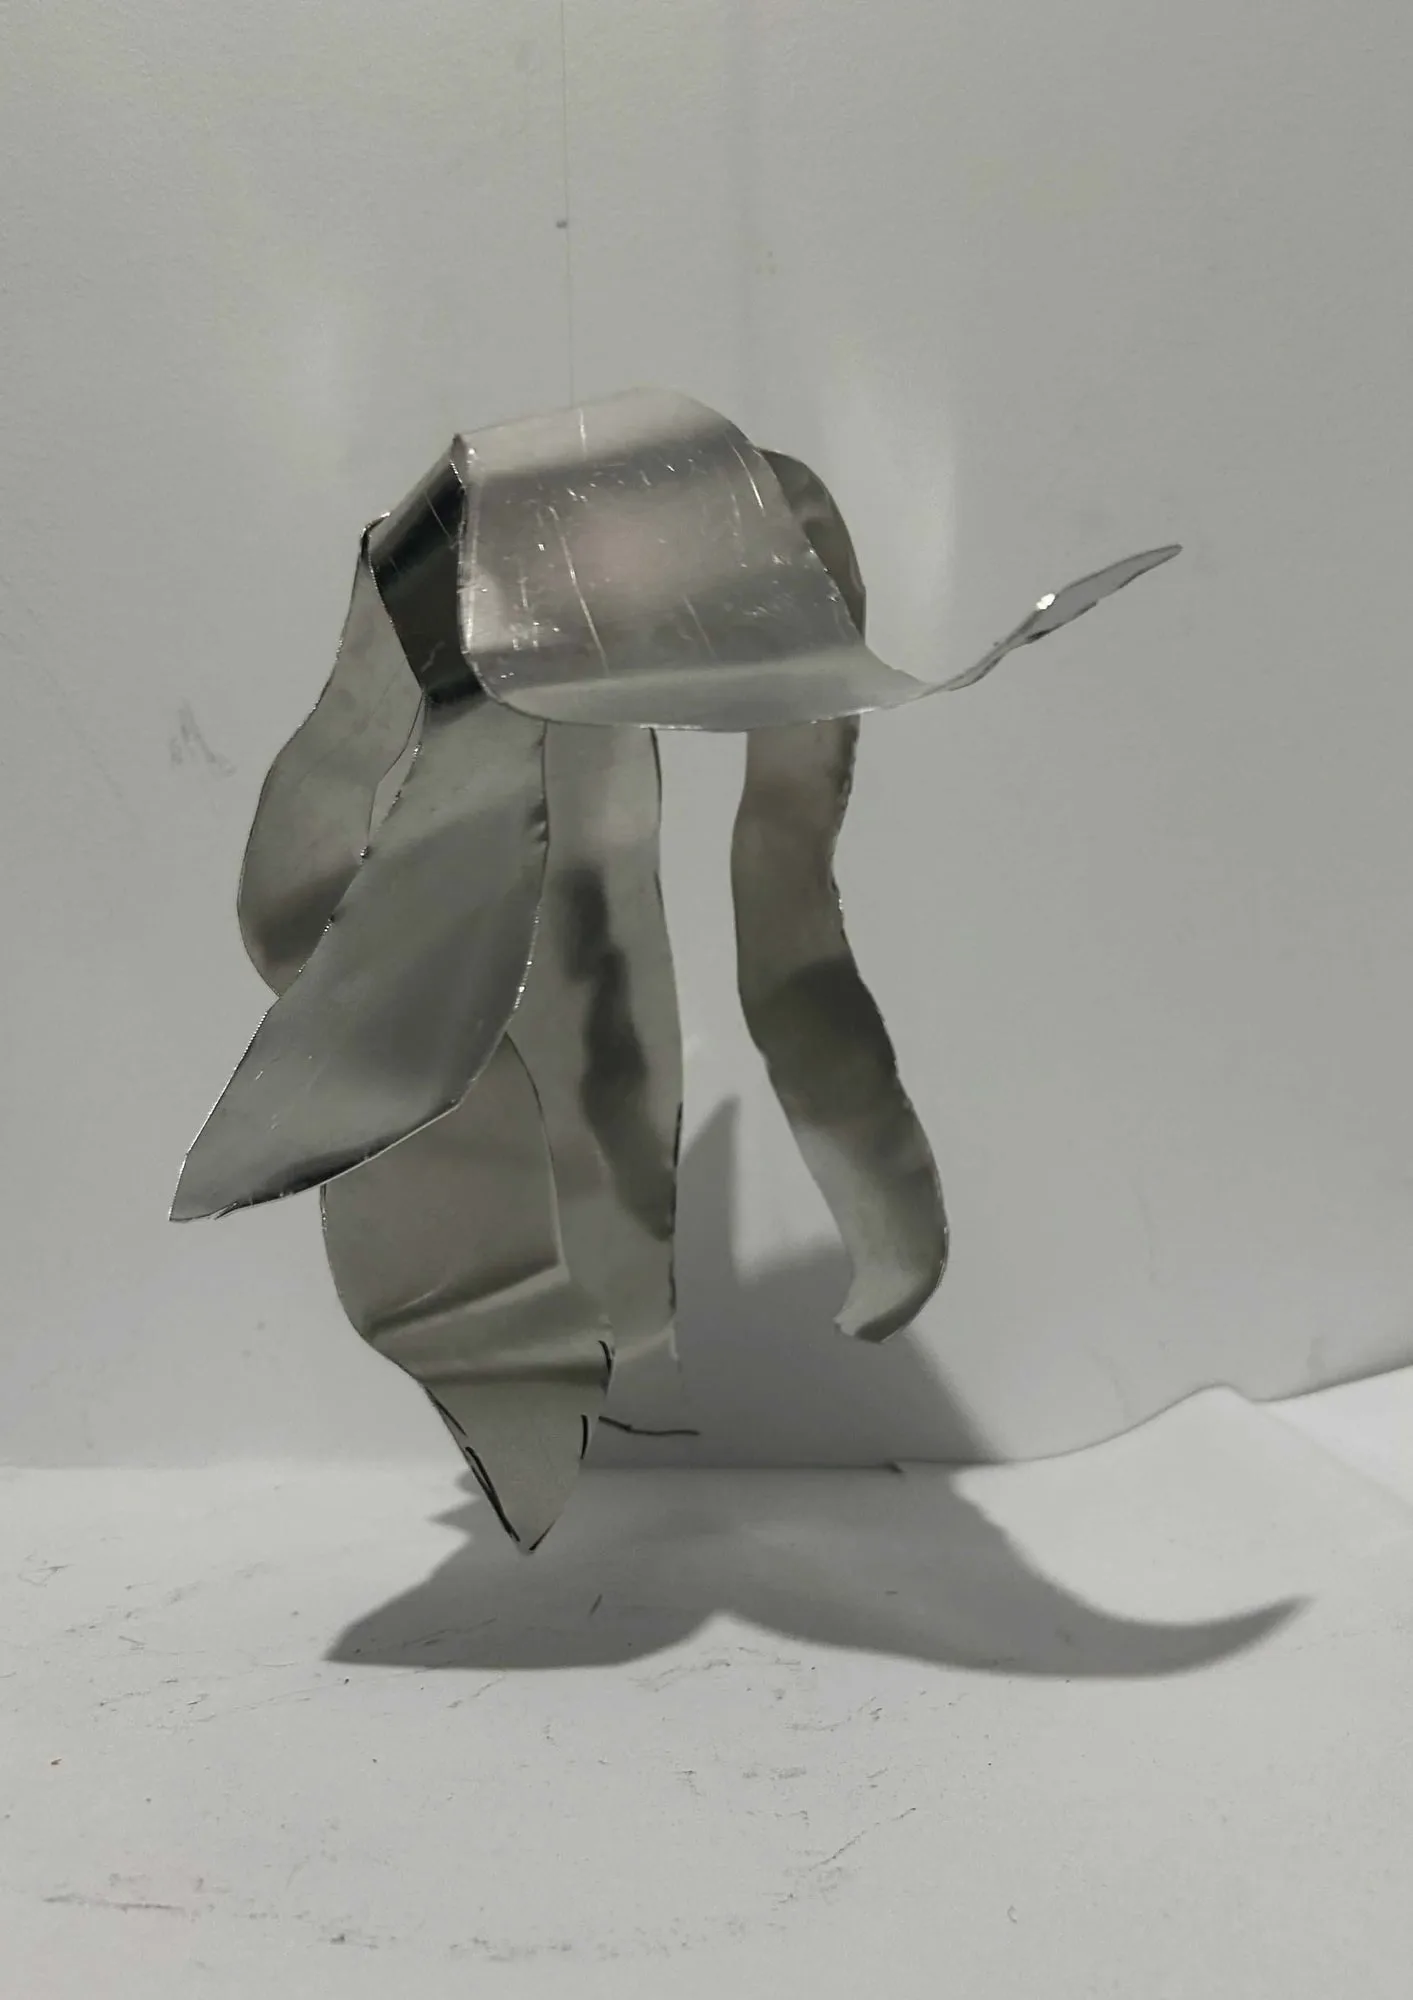
I took three directions to the class exhibition and collected responses. Design 2, Gravitational Layers, drew the strongest response by a significant margin — so that became the one I developed.
Design 1Event Spiral 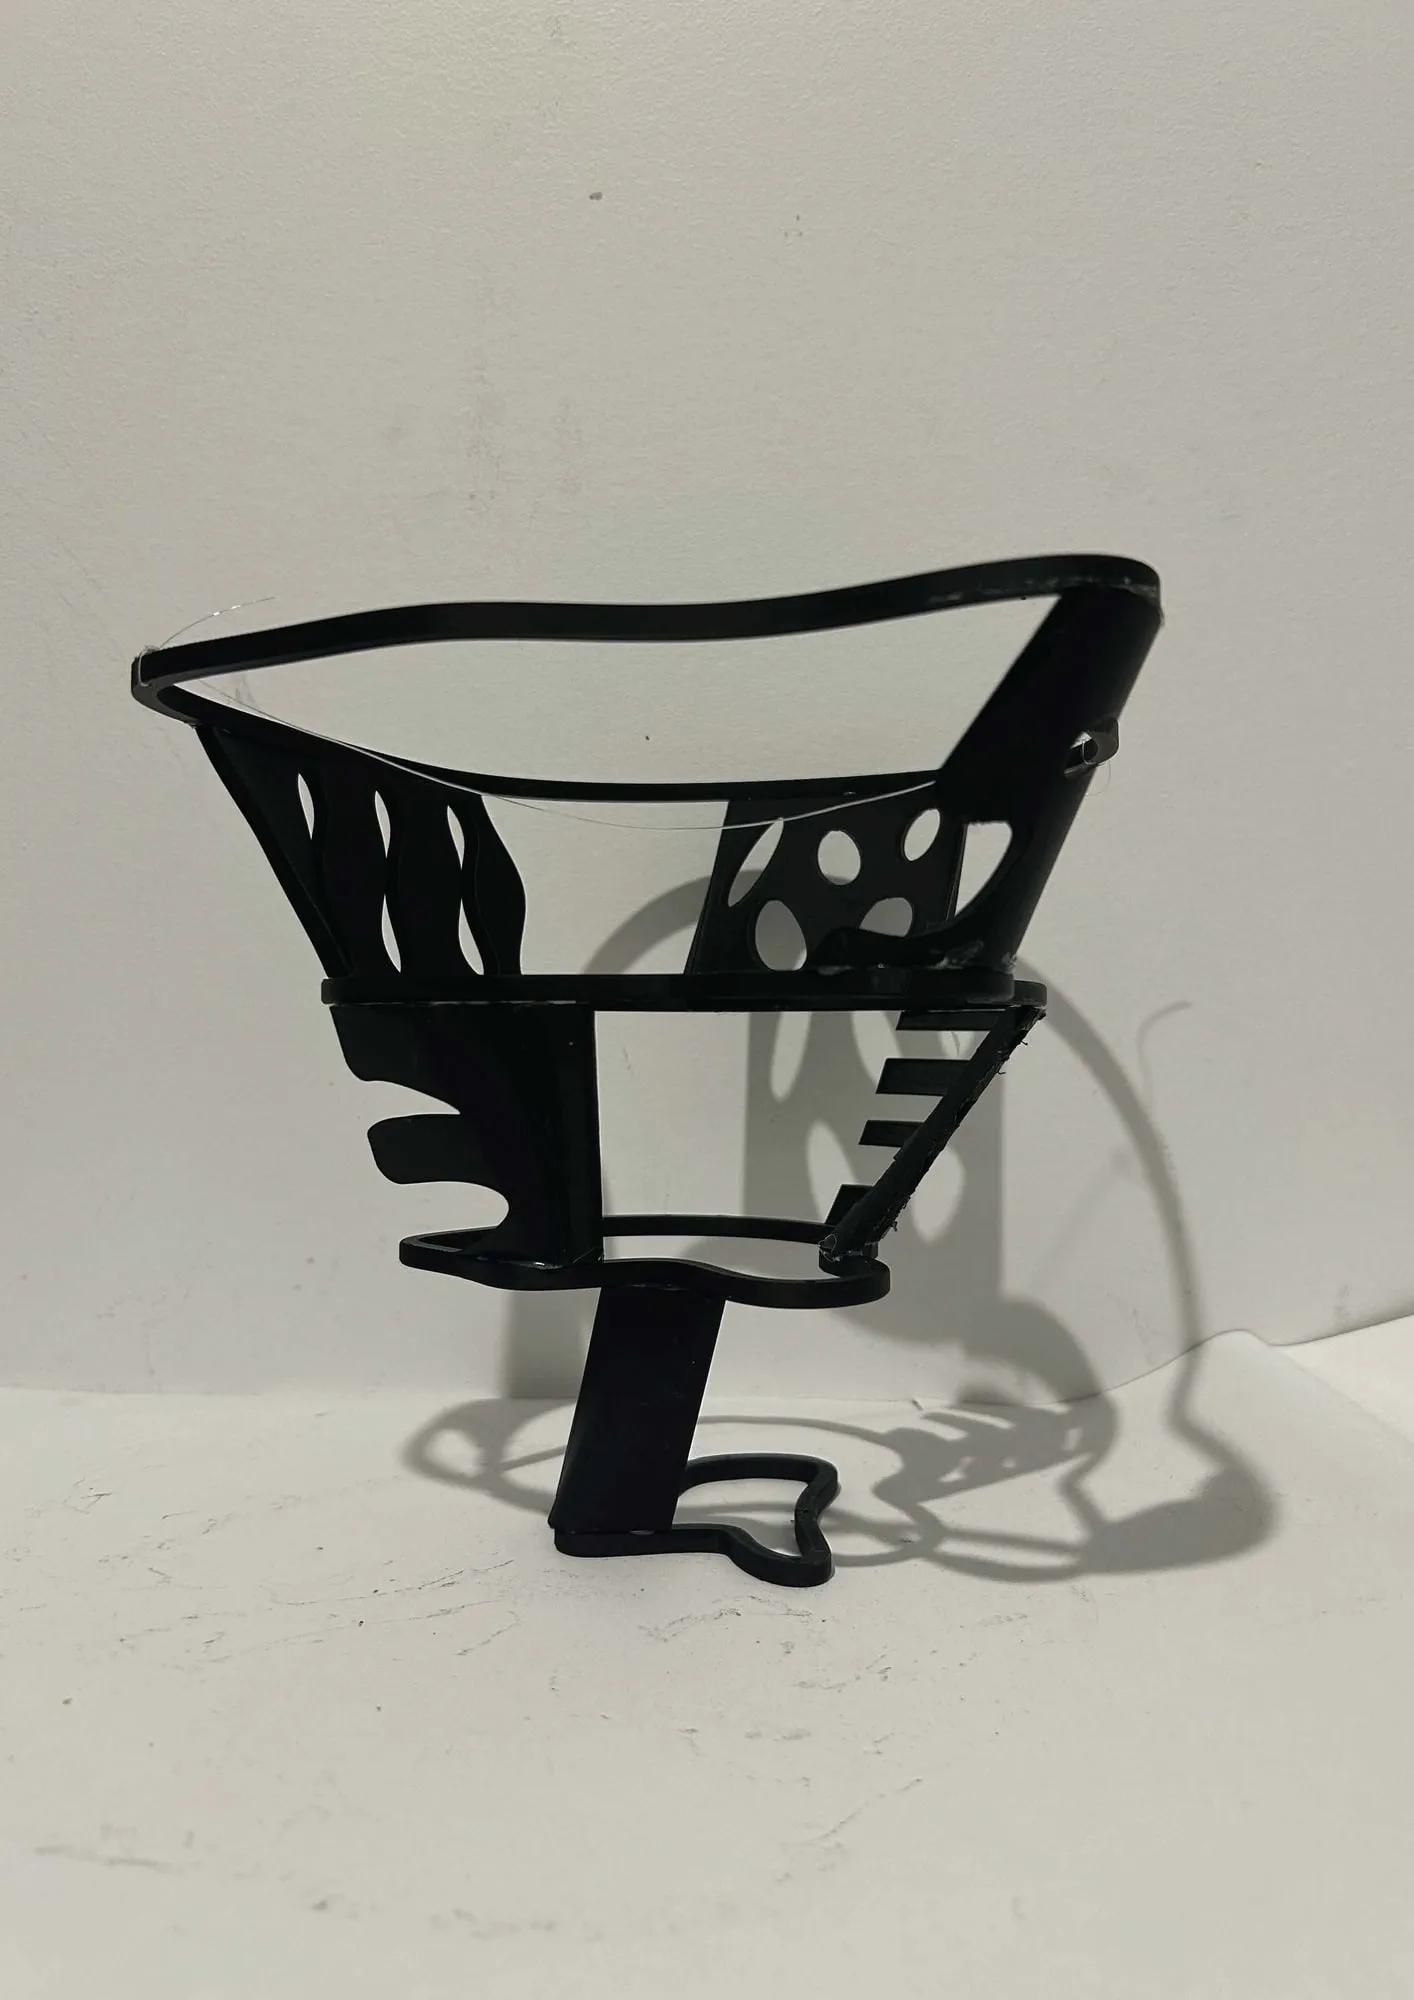
Design 2Gravitational Layers 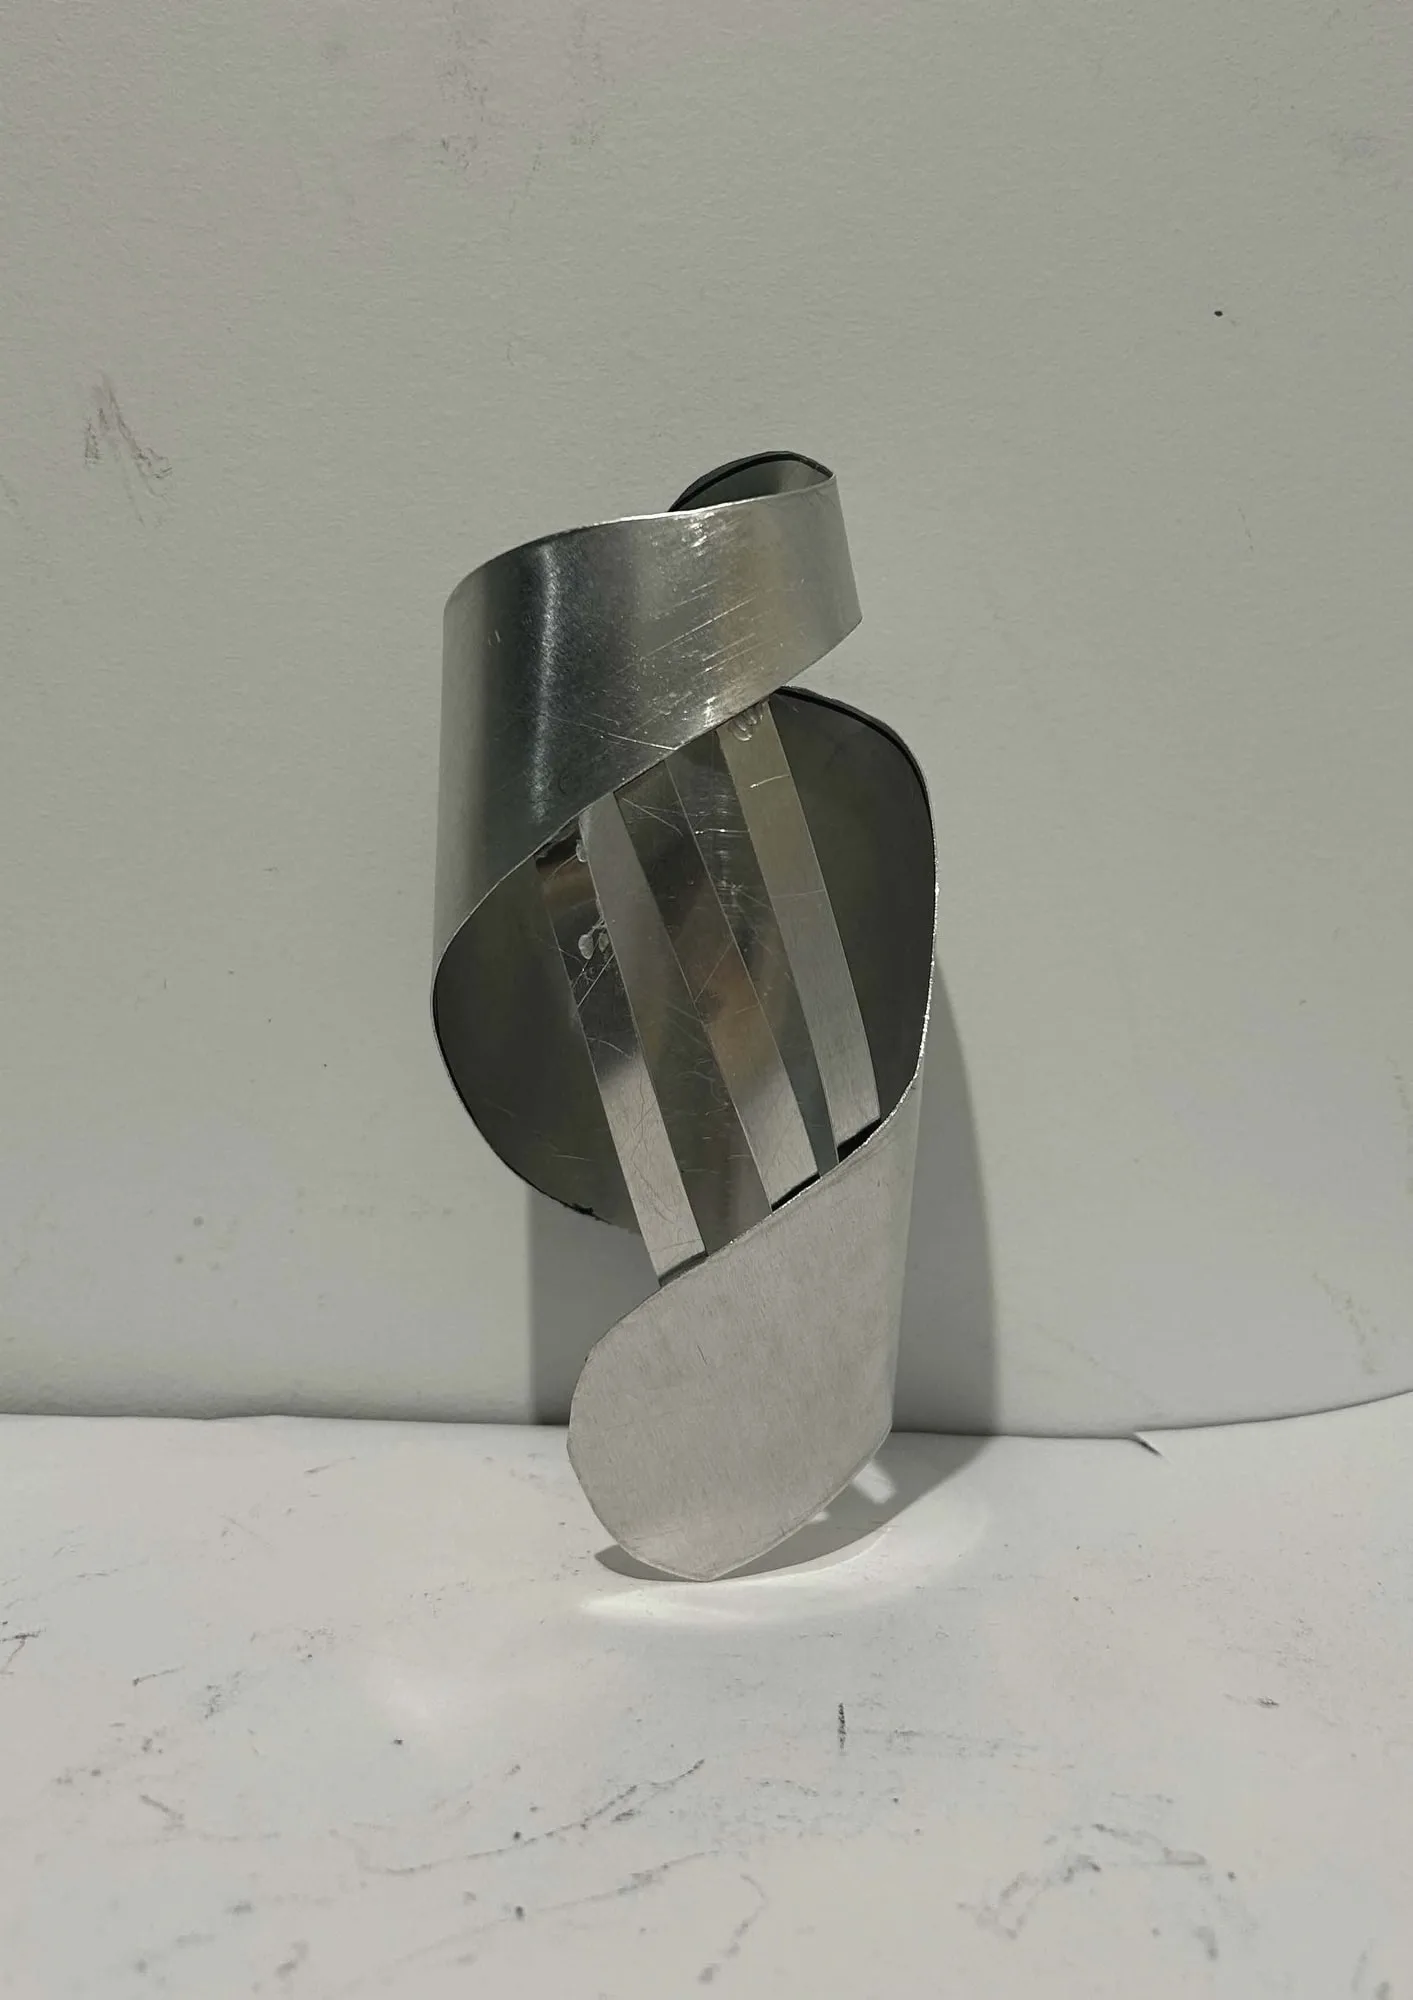
Design 3Bending Light
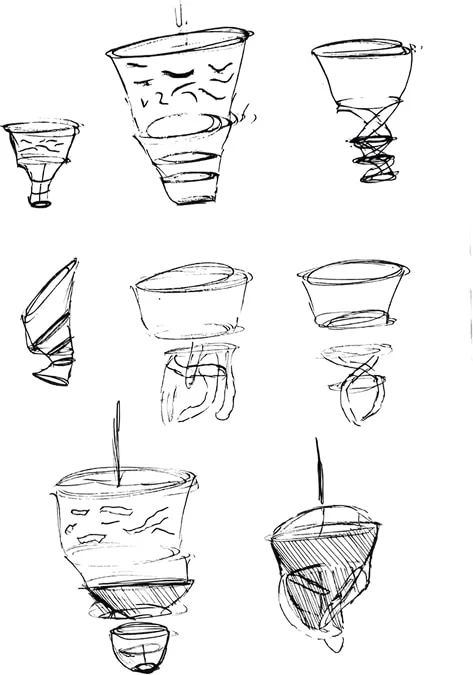
Silhouette thumbnails 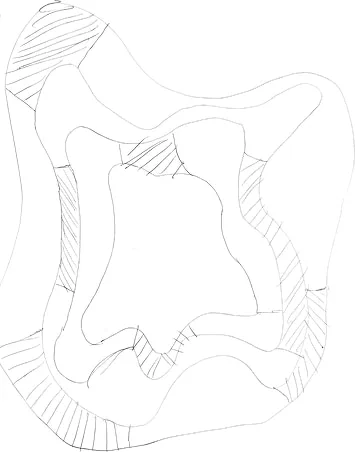
Net pattern — plan 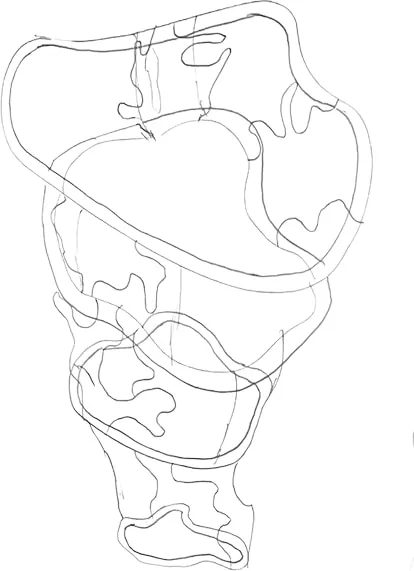
Layer stack — elevation 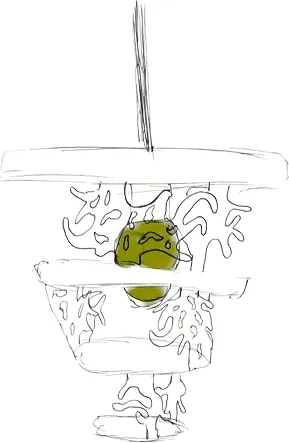
Lit study
Netting exploration
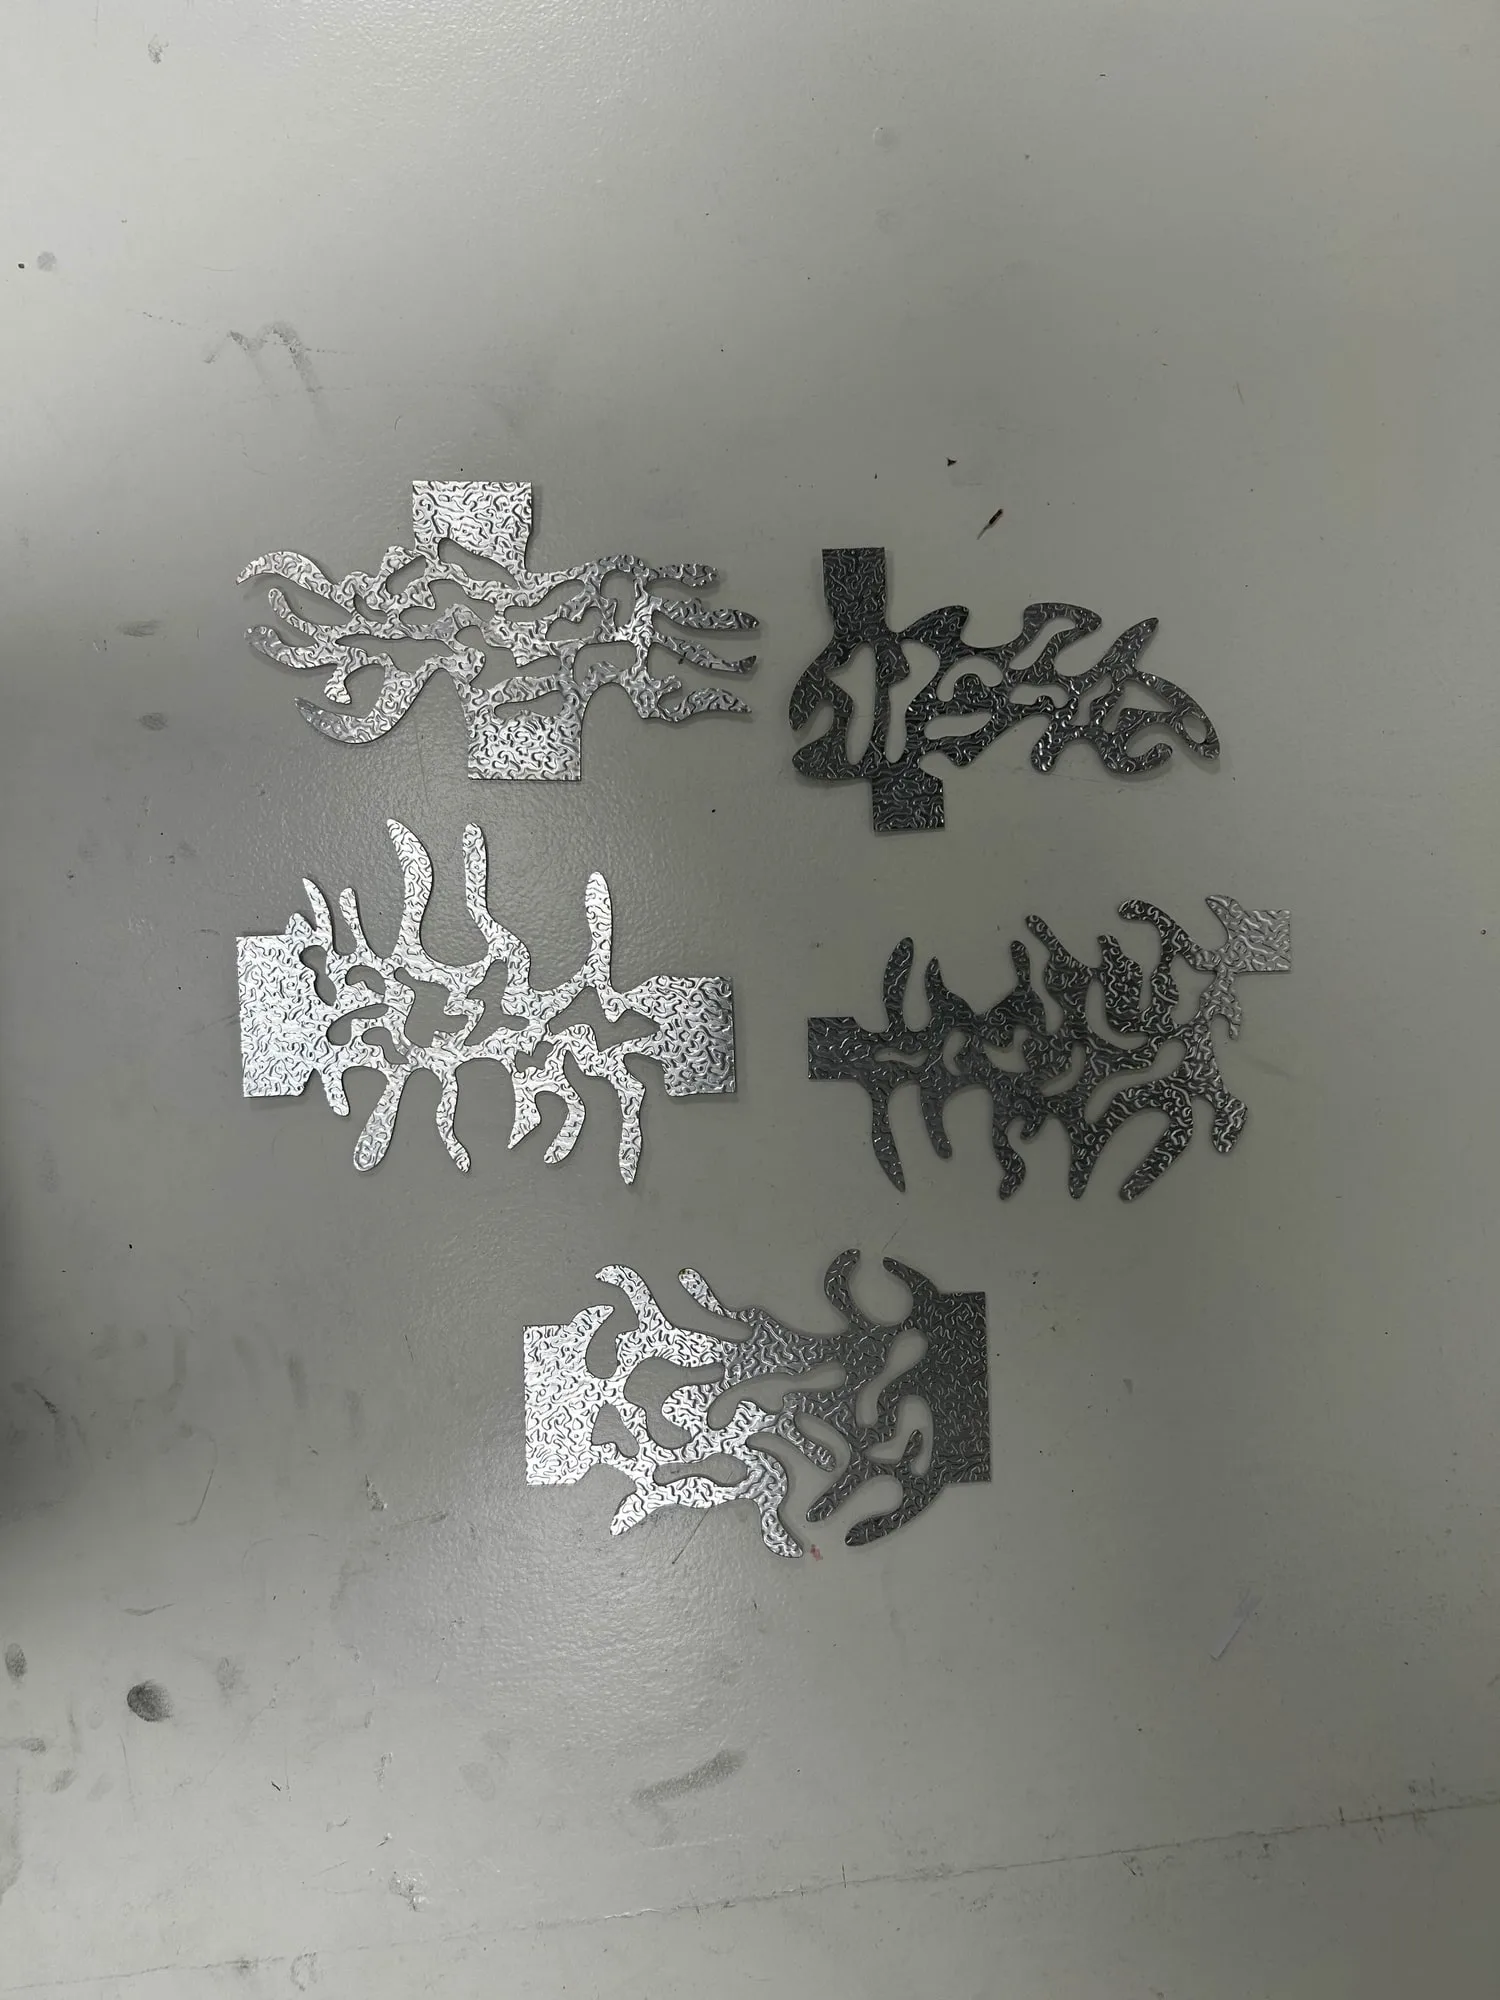
The nets are what connect and define each layer. I sketched multiple patterns by hand — flowy forms, holes that would have been very time-consuming to cut manually — then narrowed to a design suited to cutting, so the machine could hold the detail I wanted.
Before committing, I printed the design at 1:1, cut out the shapes and connected them physically. Seeing the nets at real size told me the bottom layers were wrong, and I redesigned them.
What went wrong
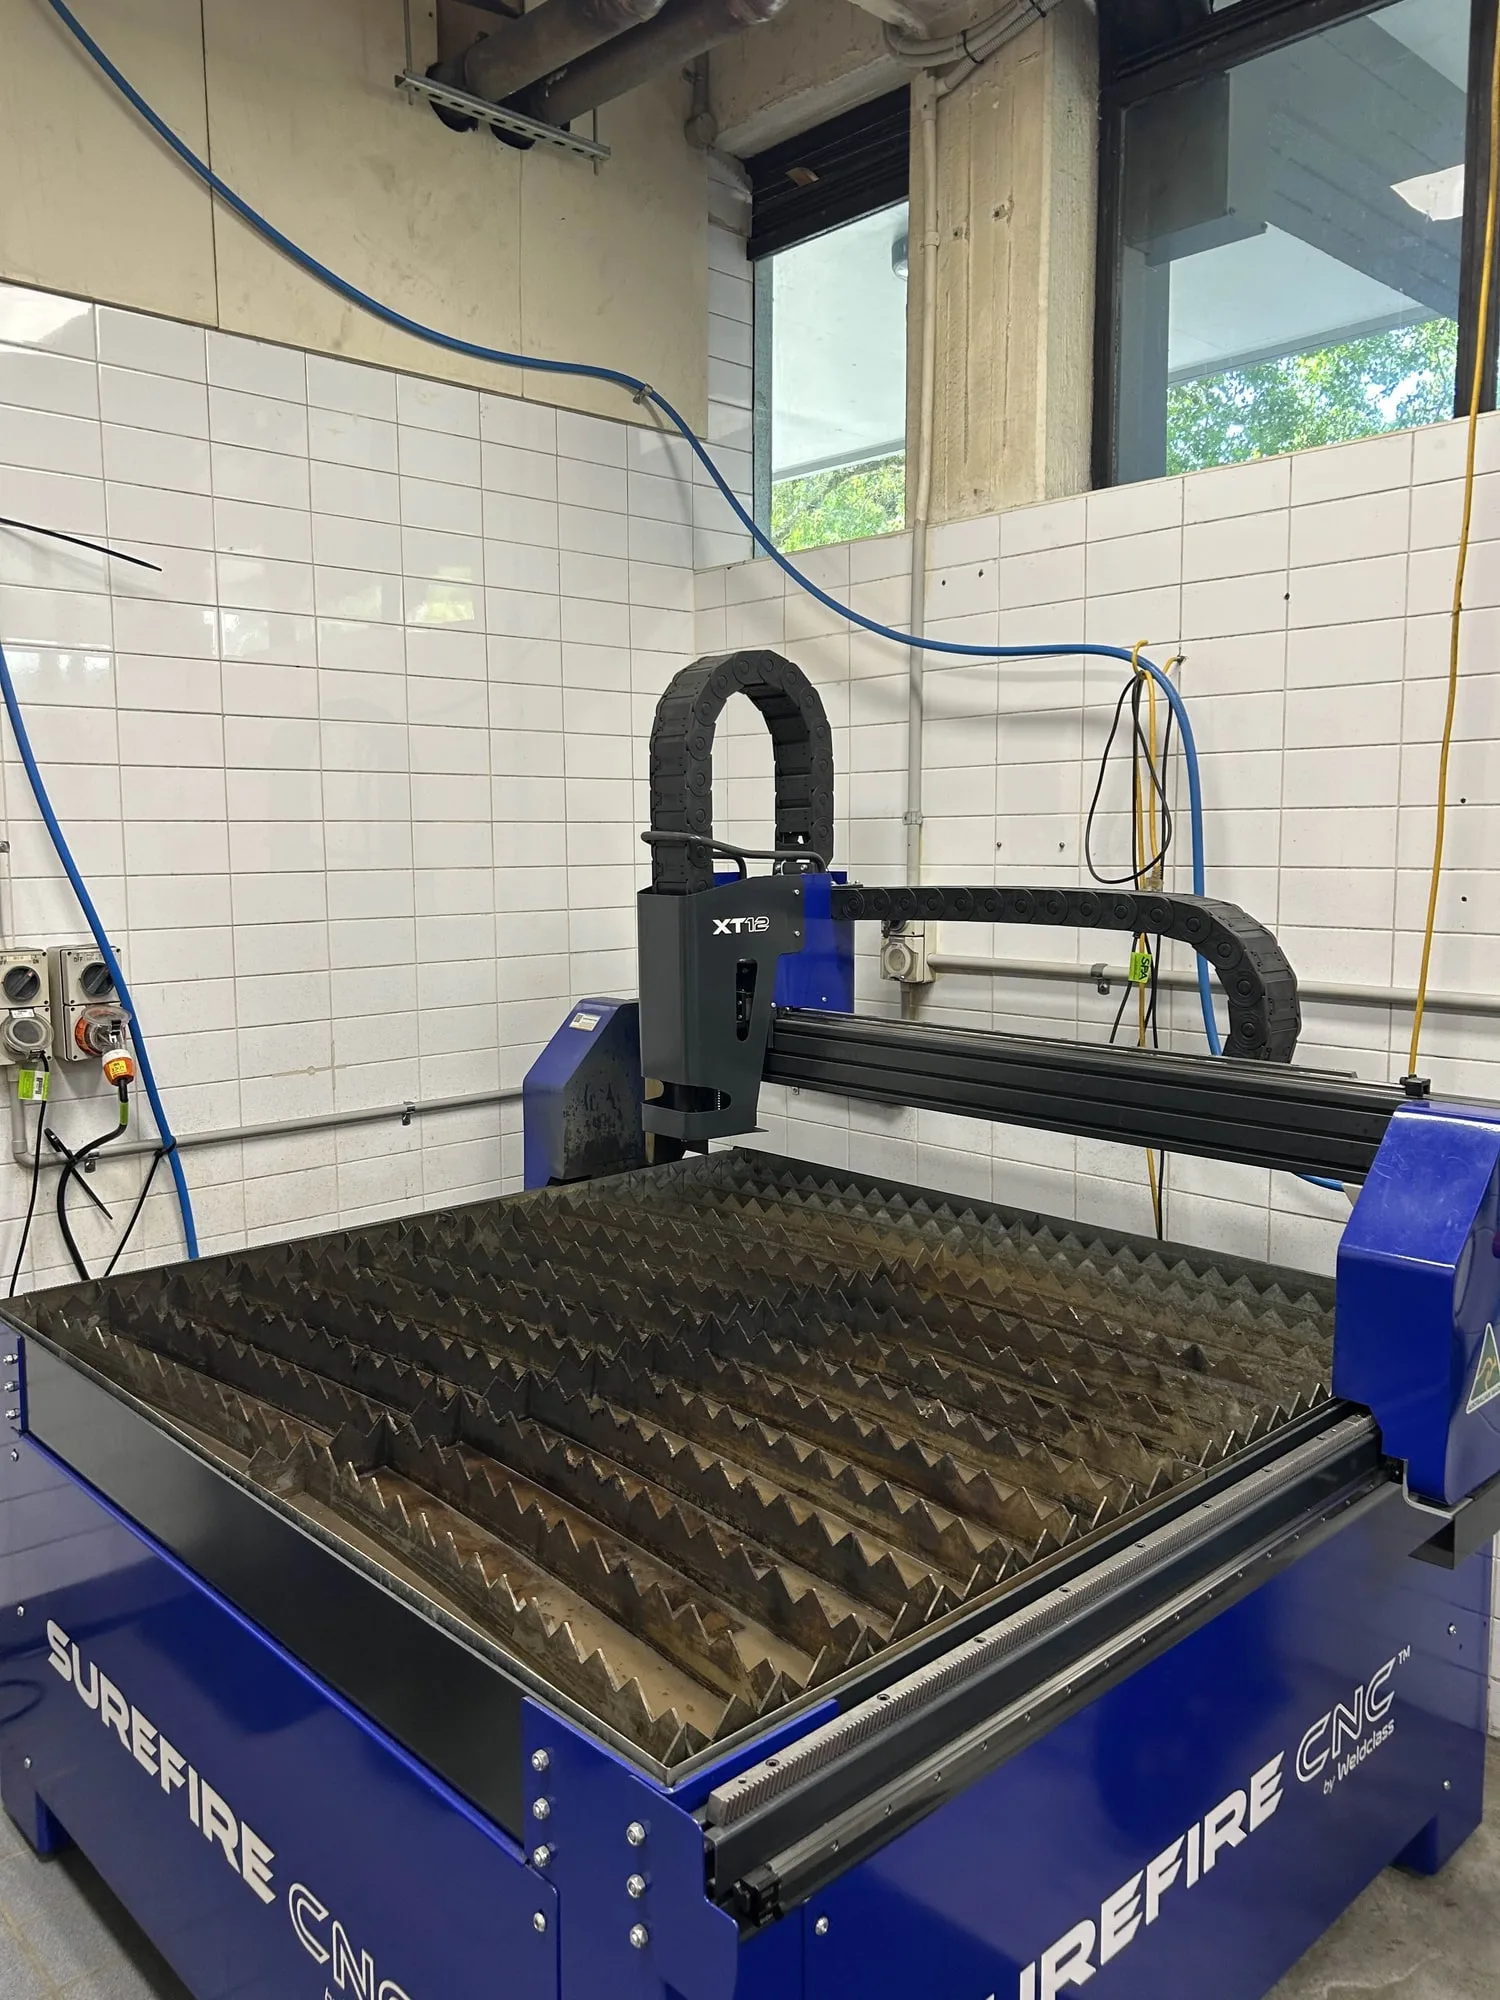
The plasma cutter destroyed itself on my parts.
Technicians initially advised against plasma-cutting my aluminium at that thickness. Three successful trials suggested it would work, so we went ahead.
We hadn't accounted for prolonged heat exposure. It caused severe warping and ultimately damaged the plasma cutter head.
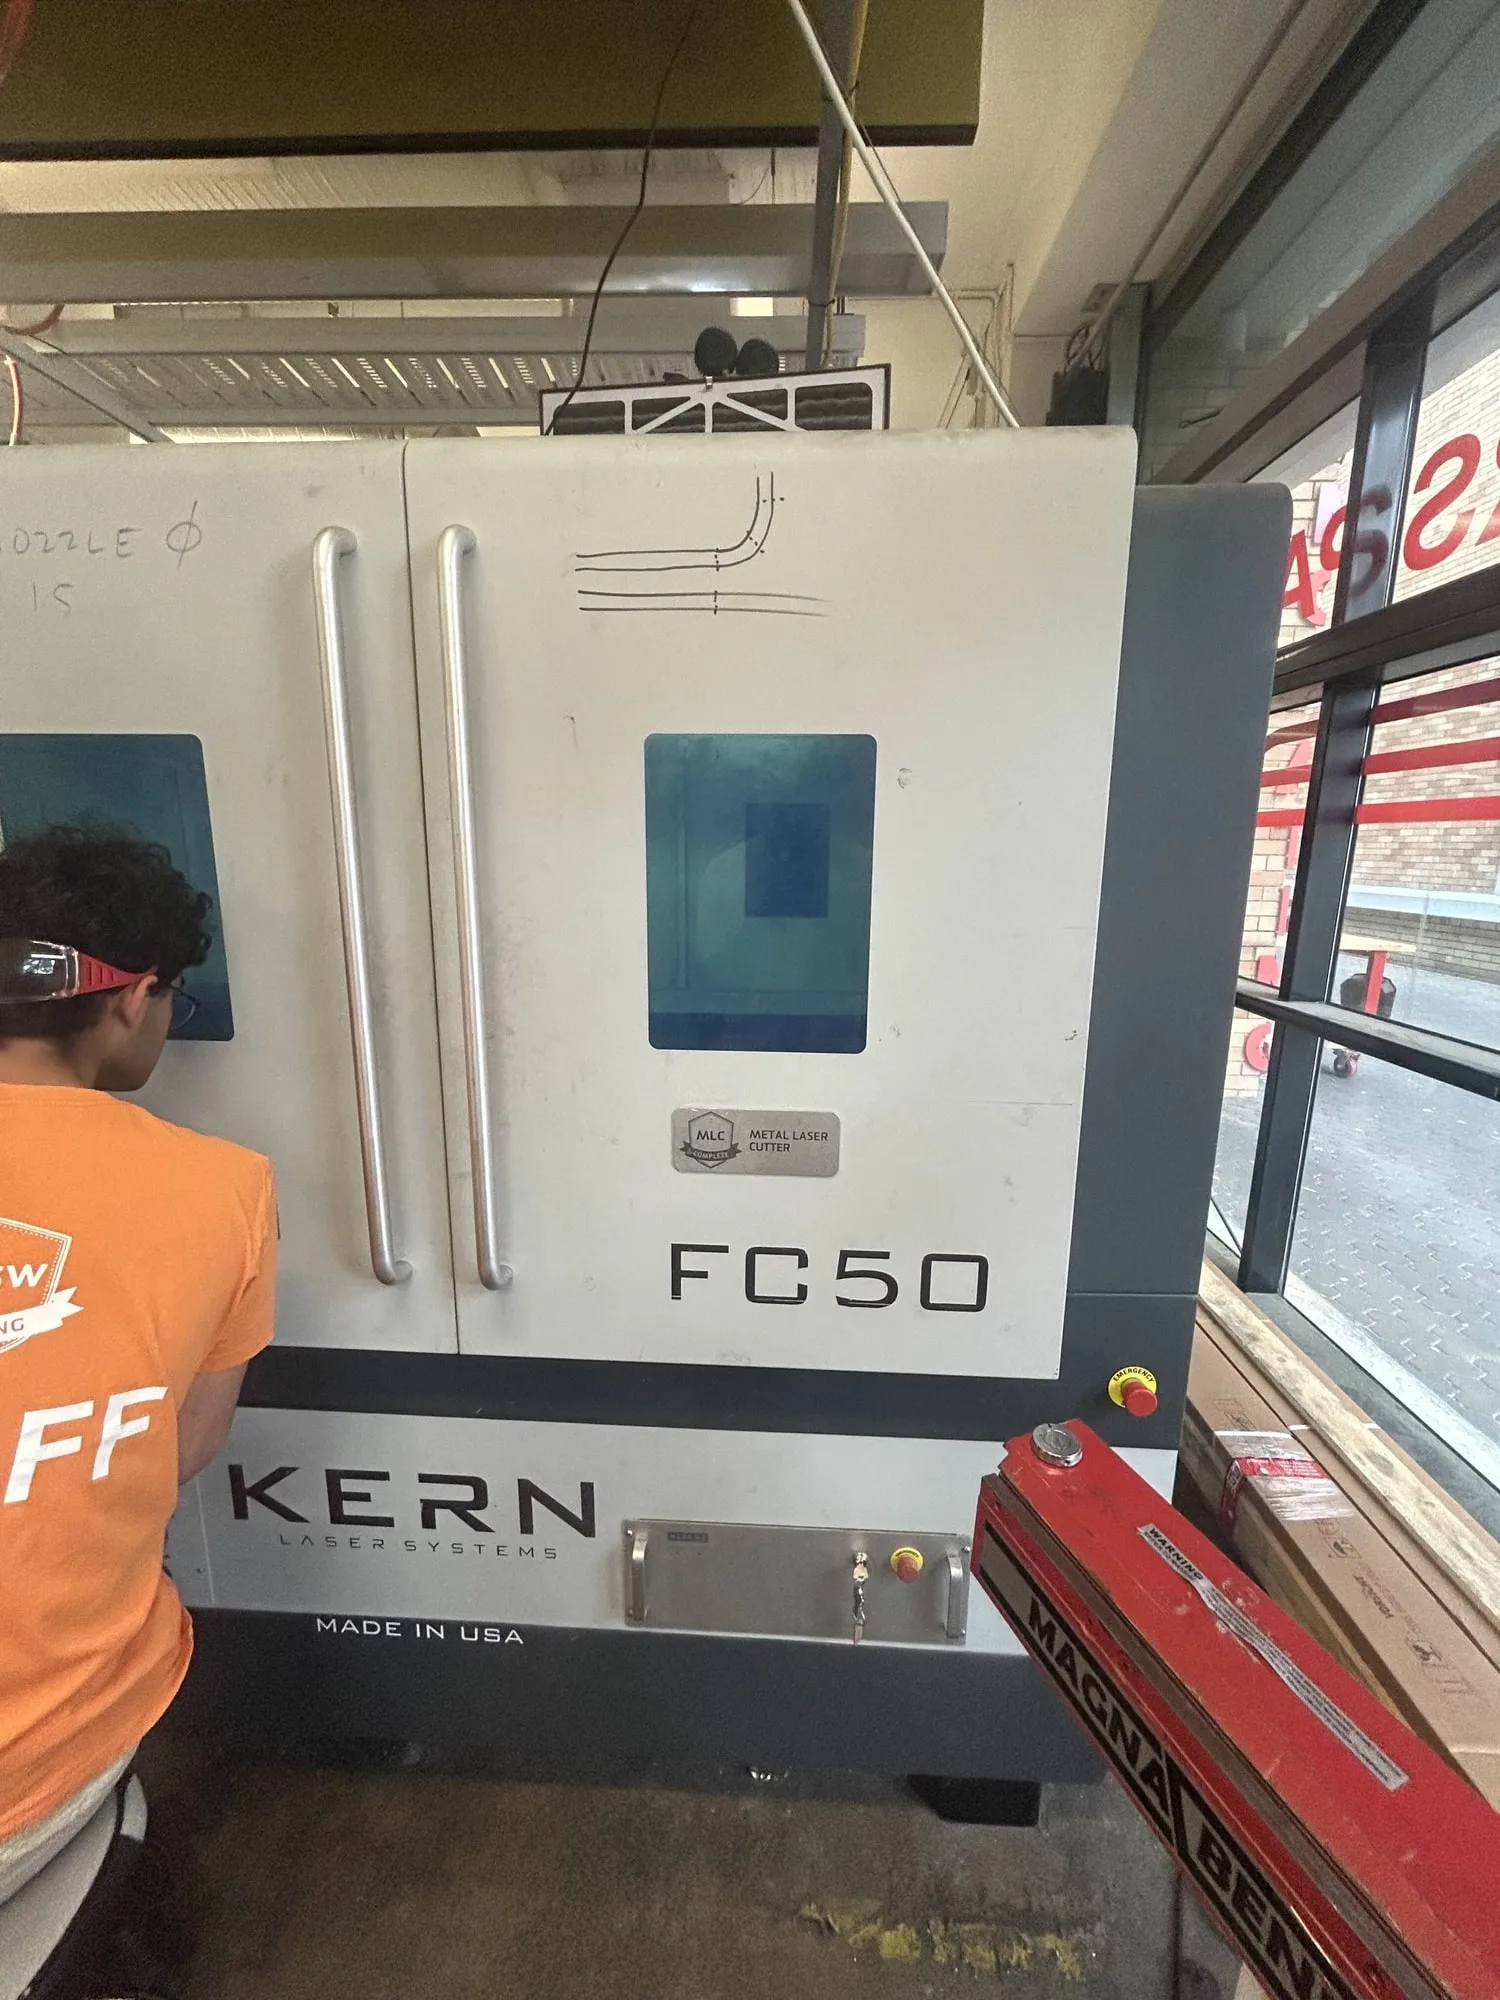
The James Kirby Makerspace technicians identified my material as Alloy 1100 — a very pure, highly heat-sensitive grade, prone to warping. They pointed me at the metal laser cutter, which uses depth sensors and a far more controlled beam. Cleaner cut, and none of the height-related failure that wrecked the plasma head.
Making it
Bent, welded, riveted, sprayed.
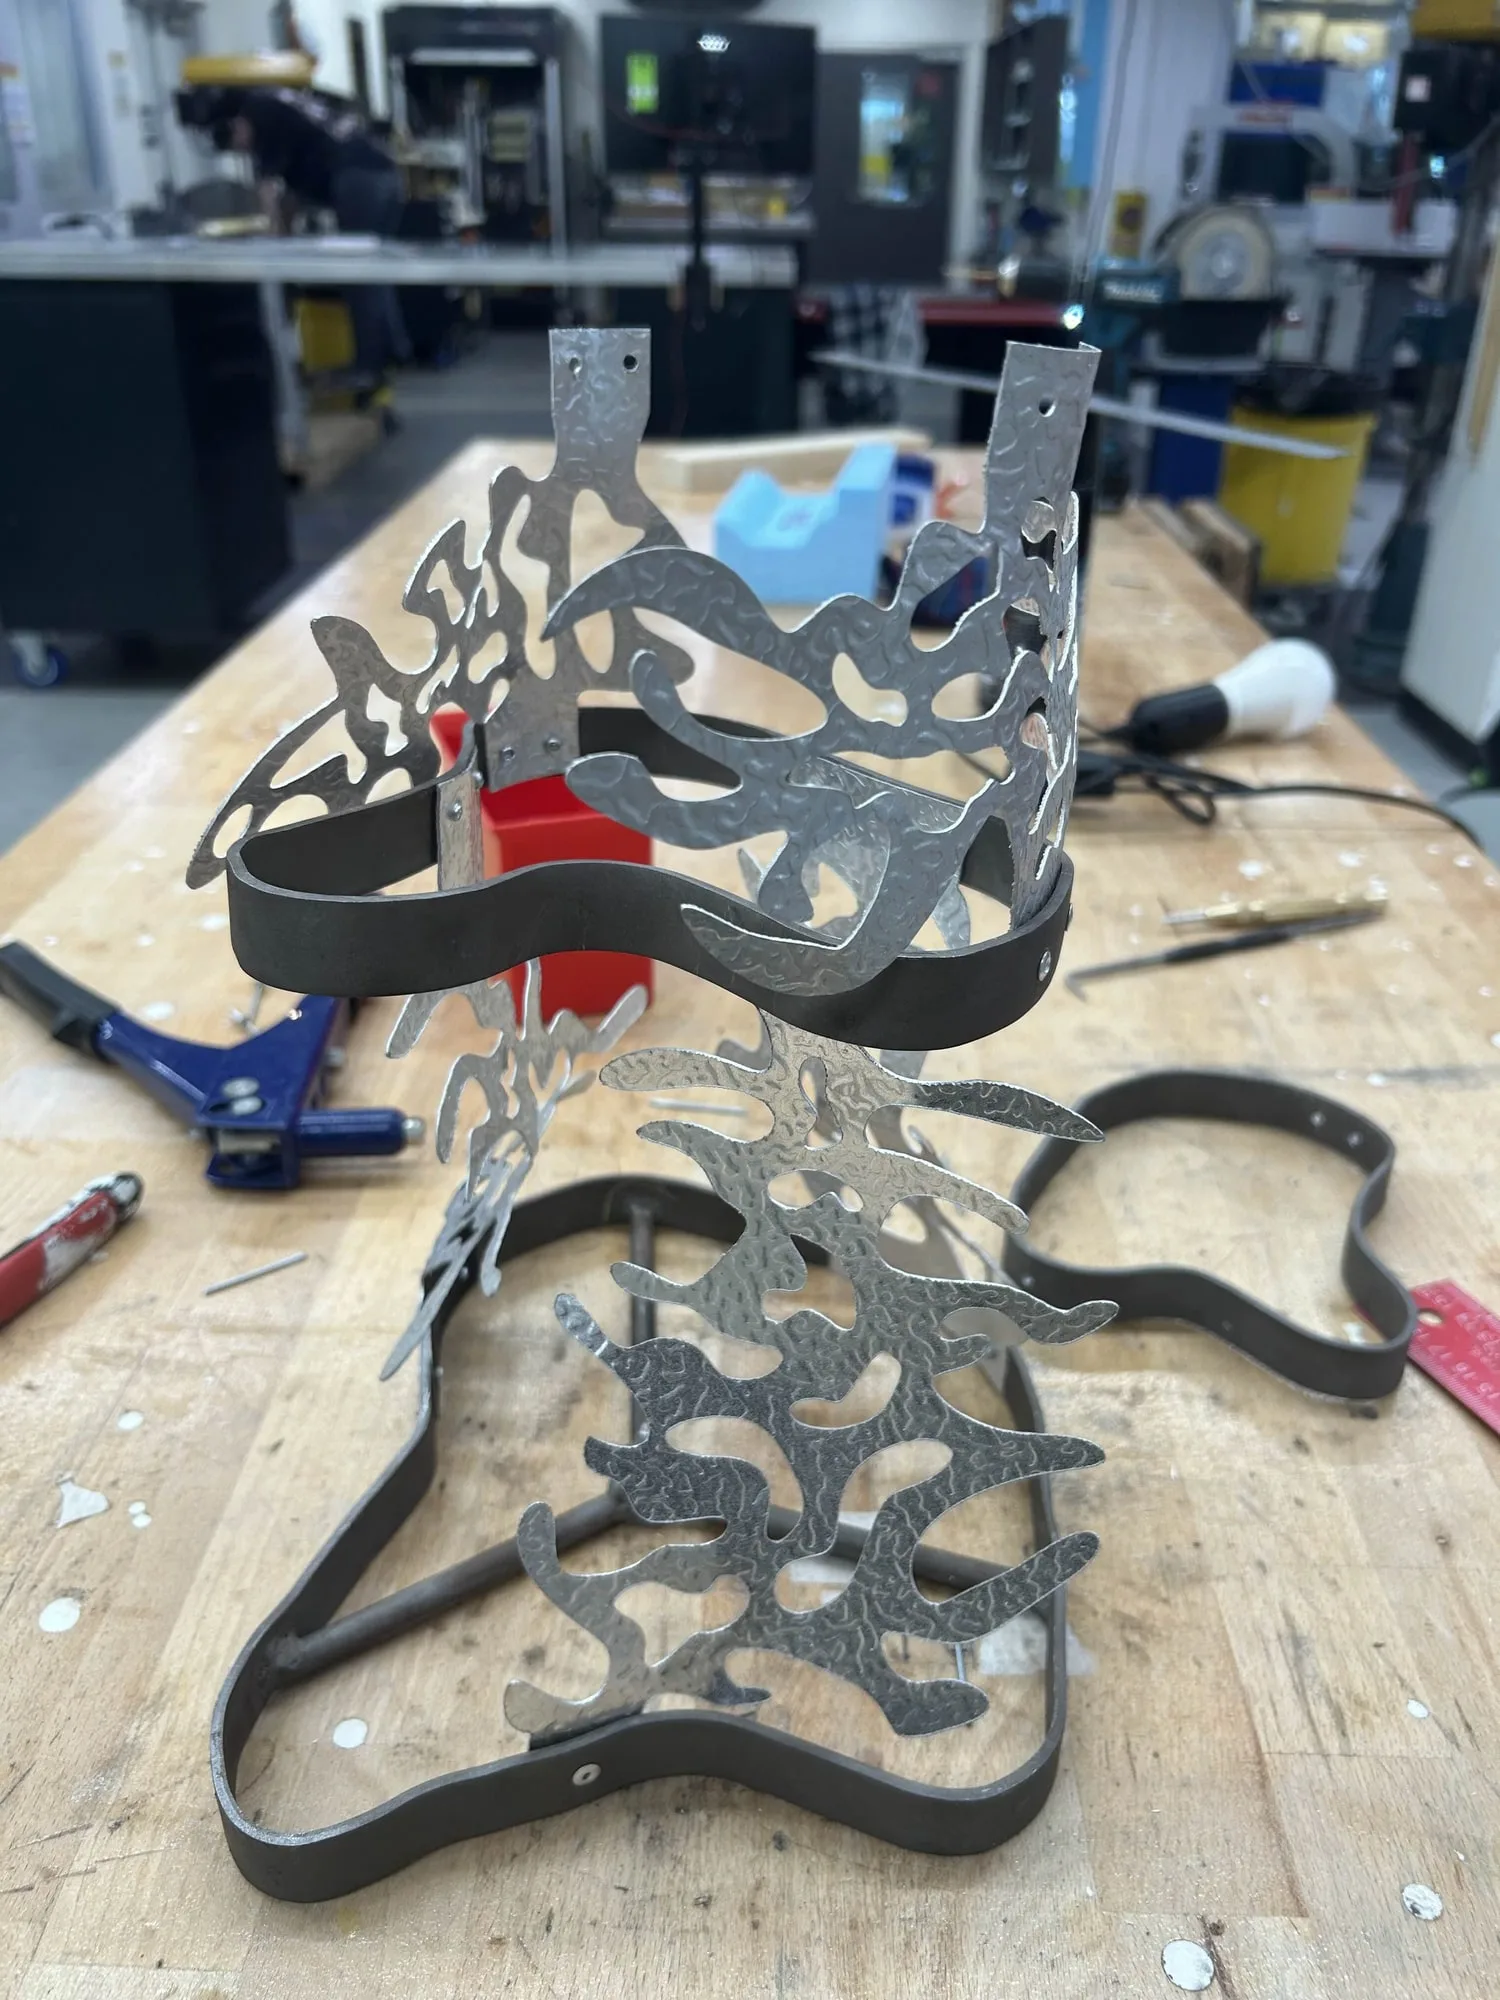
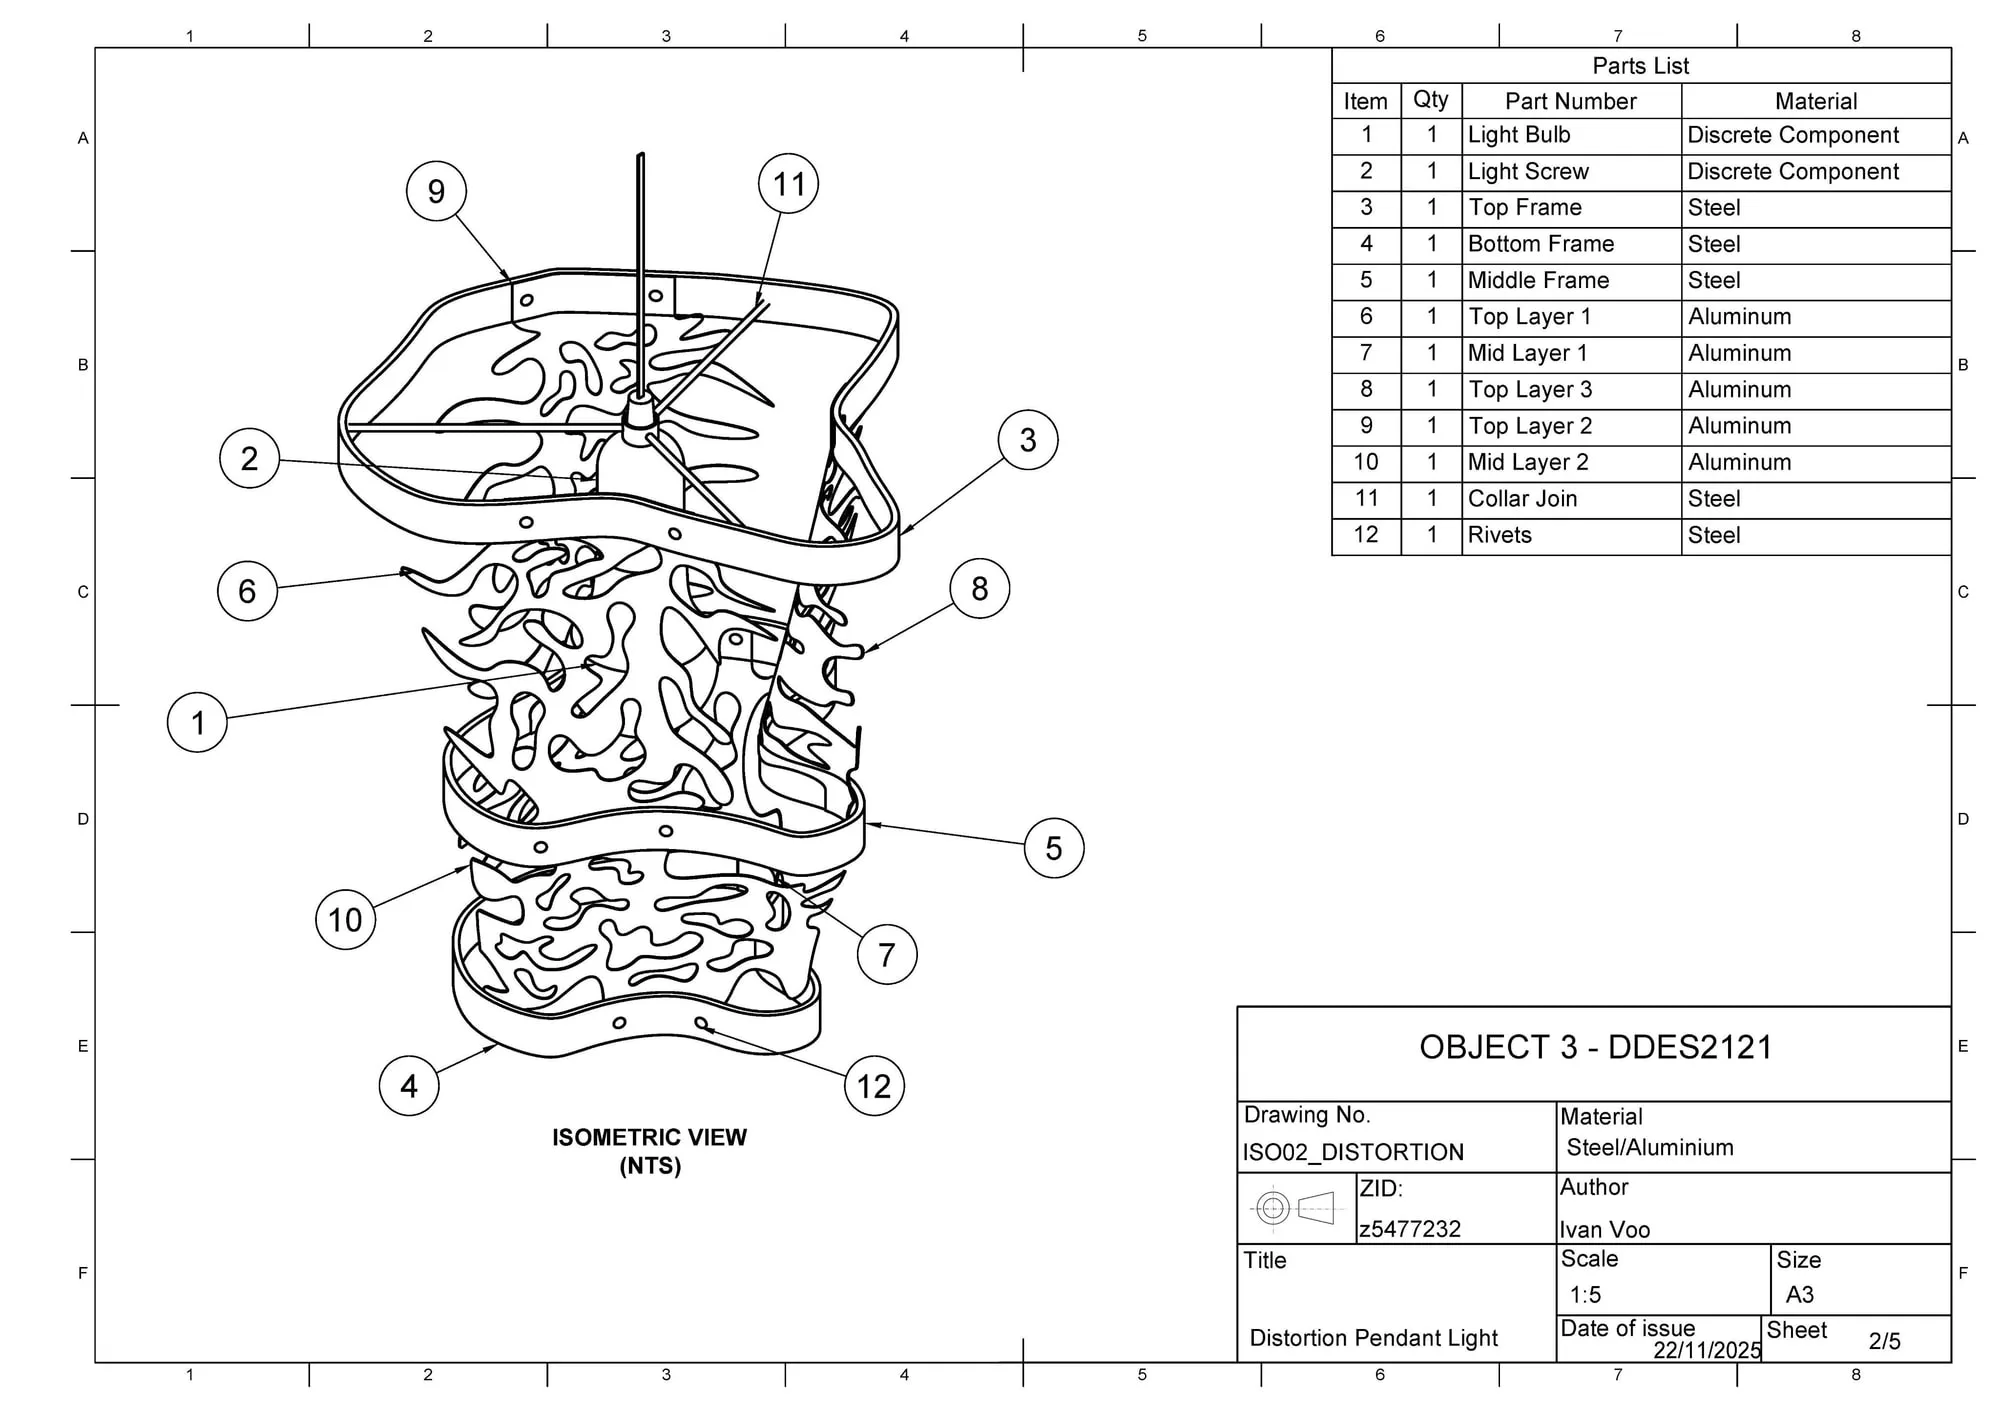
A metal roller couldn't pull tight enough bends, so I used a bending jig — pulling a rod against a cylinder and repeating until the spline matched the drawing. The collar that suspends the lamp doubles as the connection point for the ceiling cable.
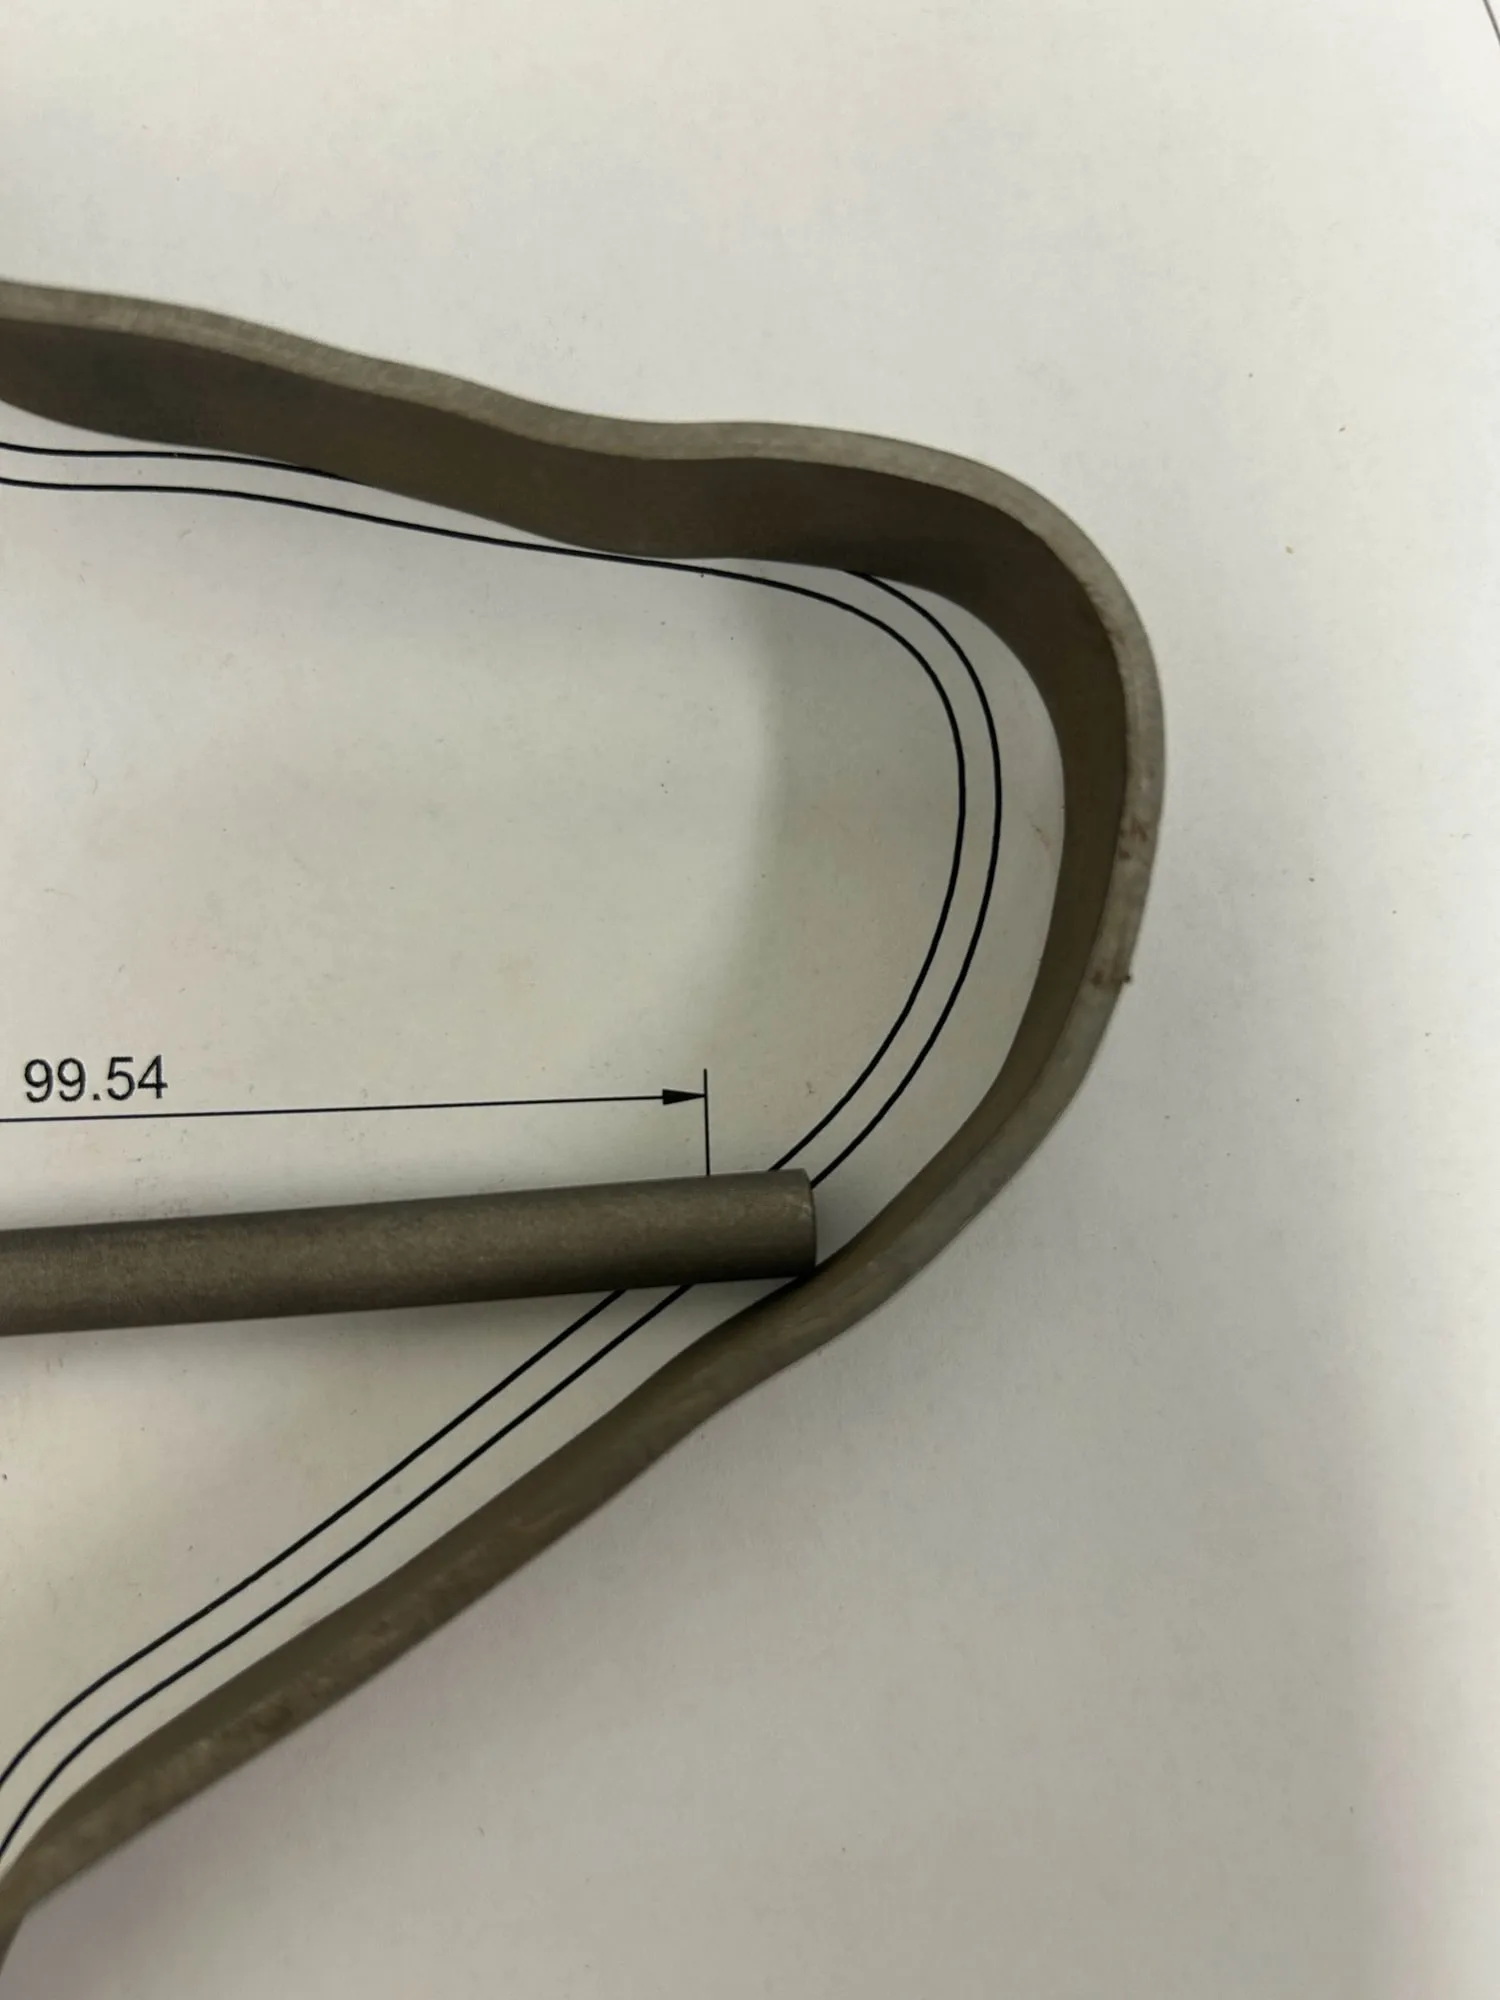
Bending the collar 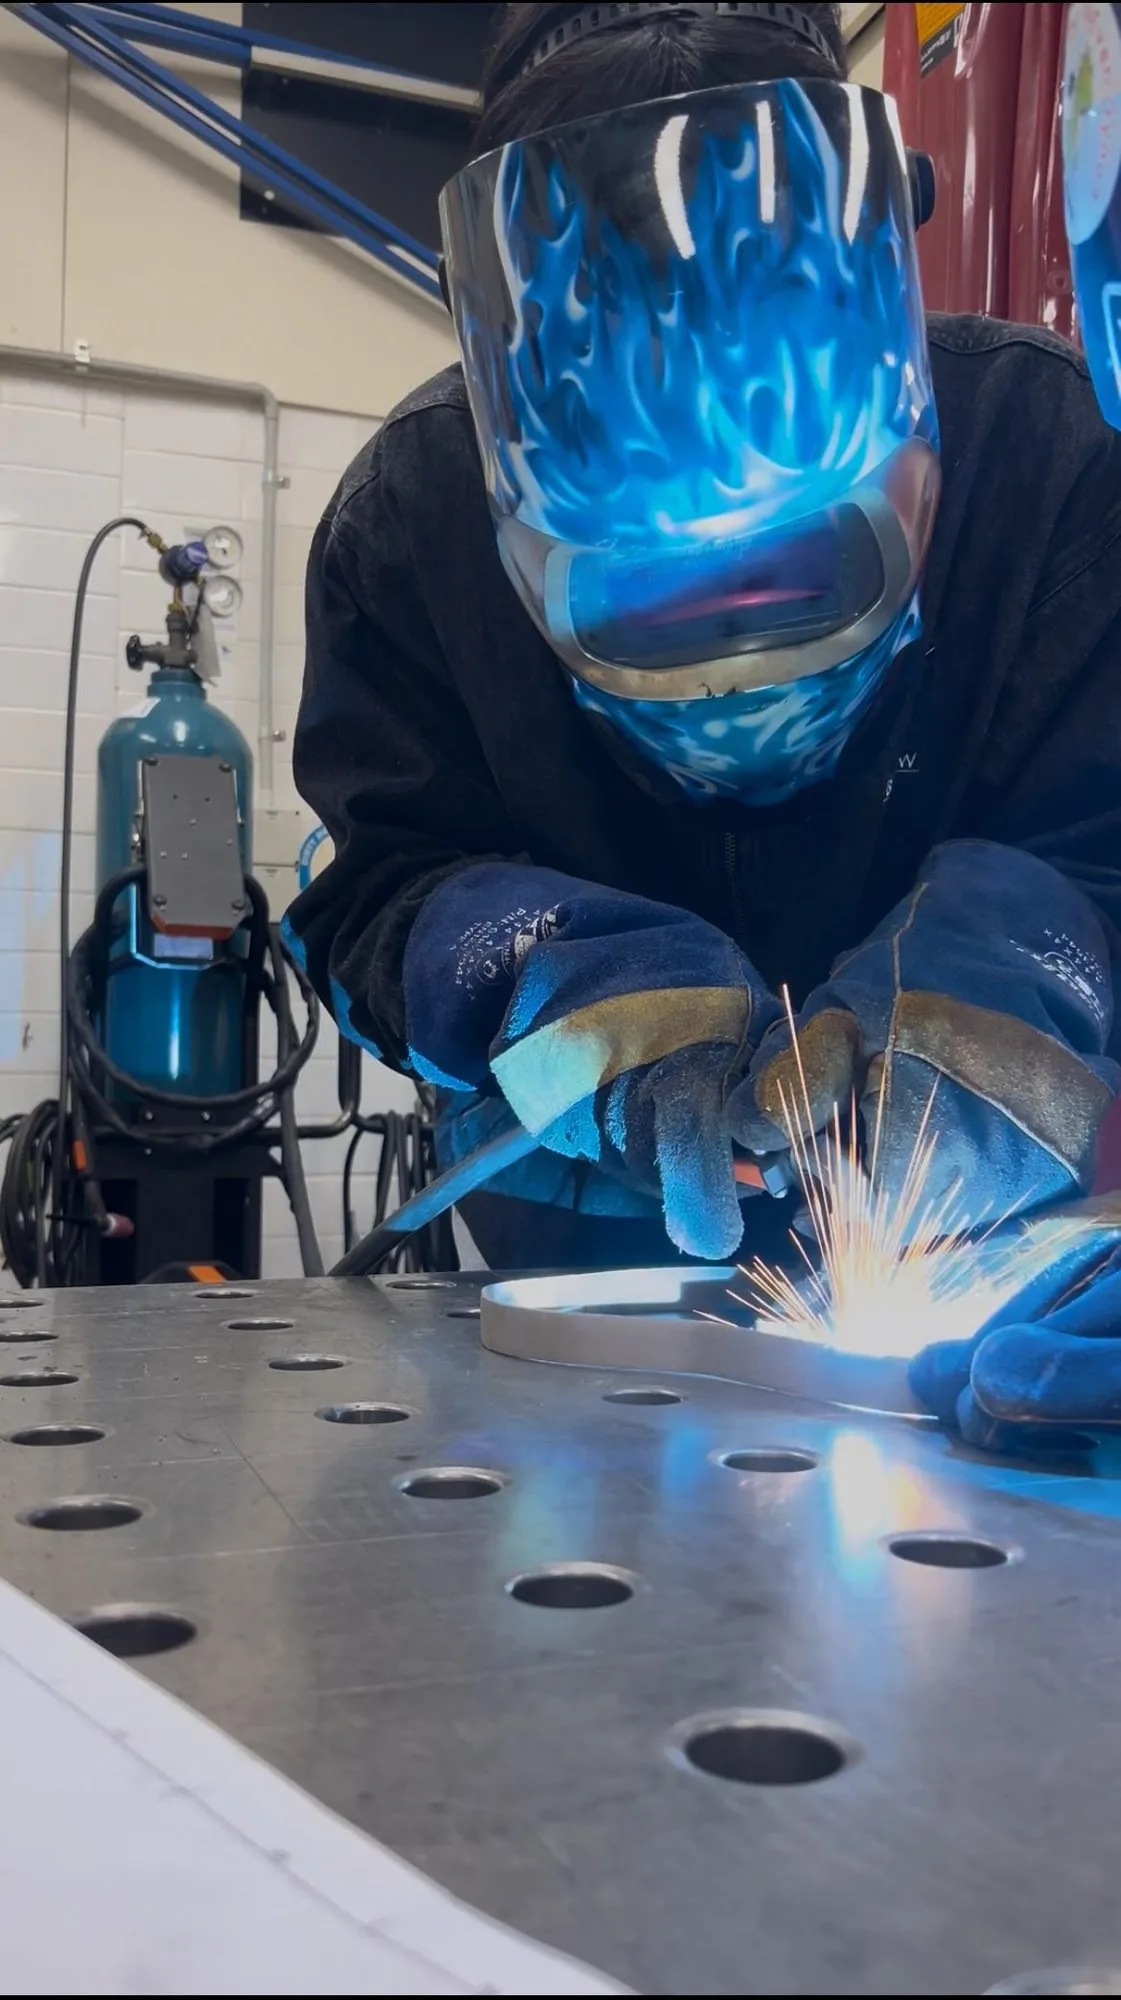
MIG welding 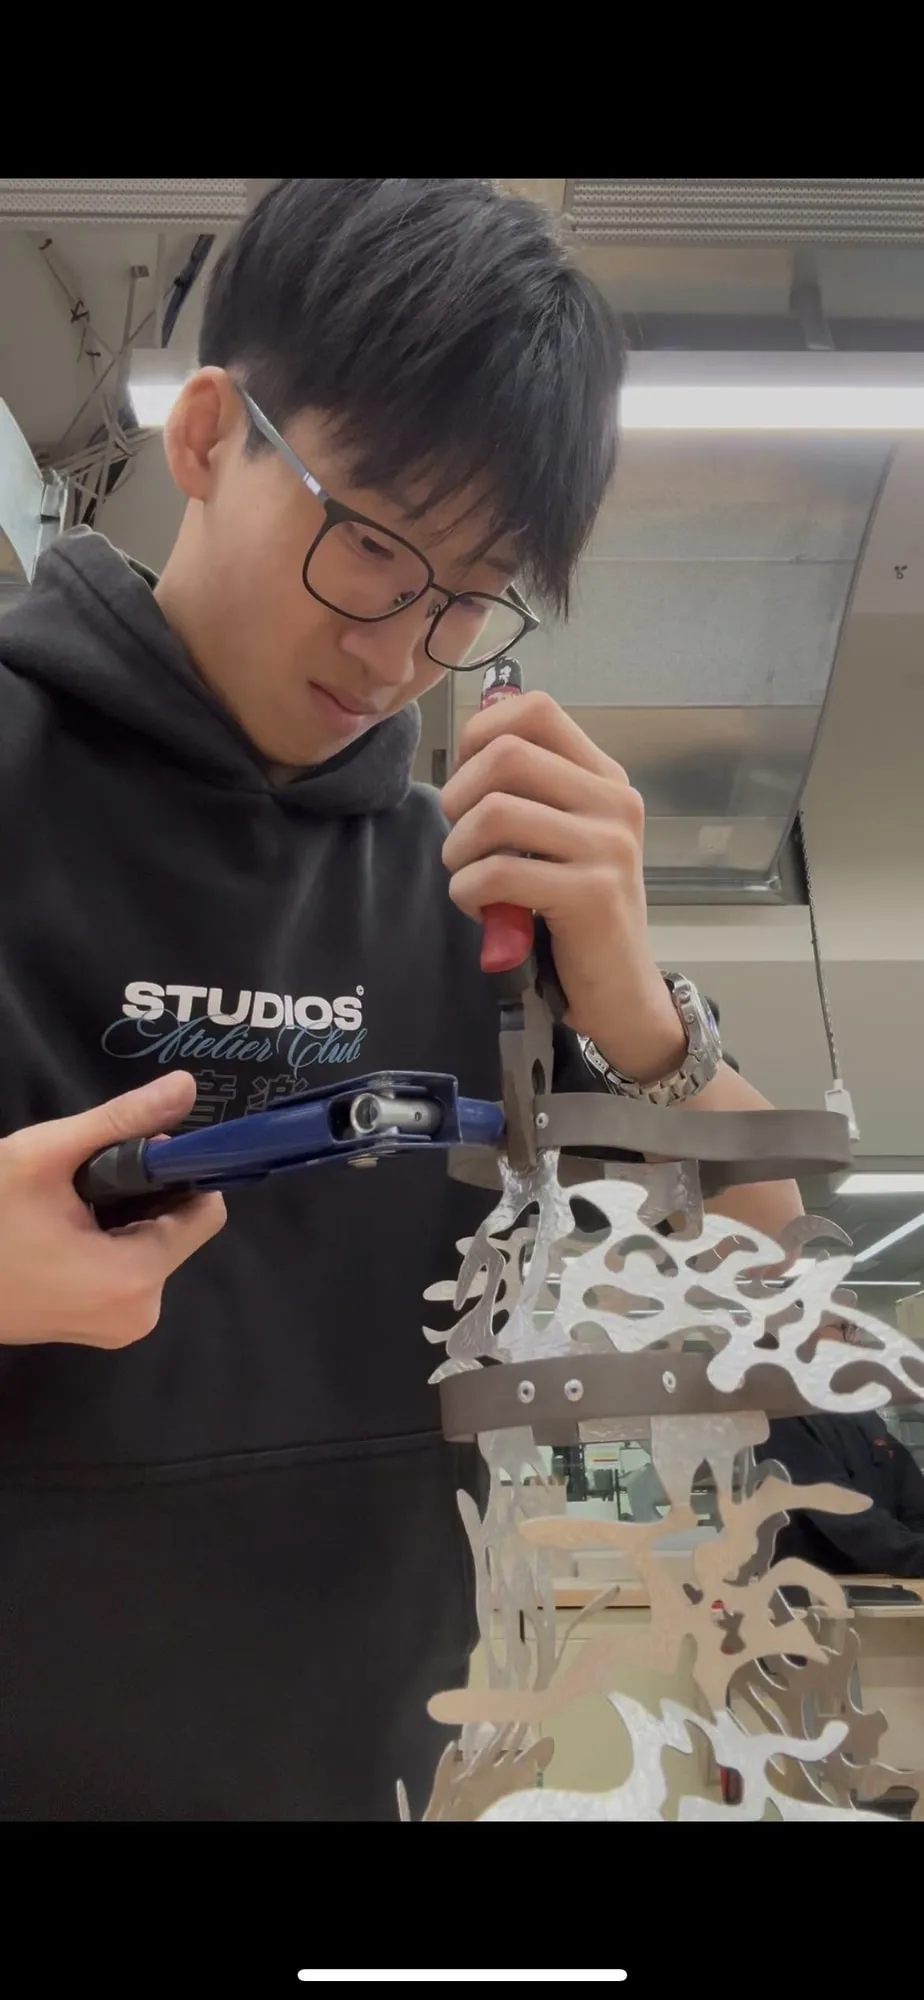
Riveting the nets 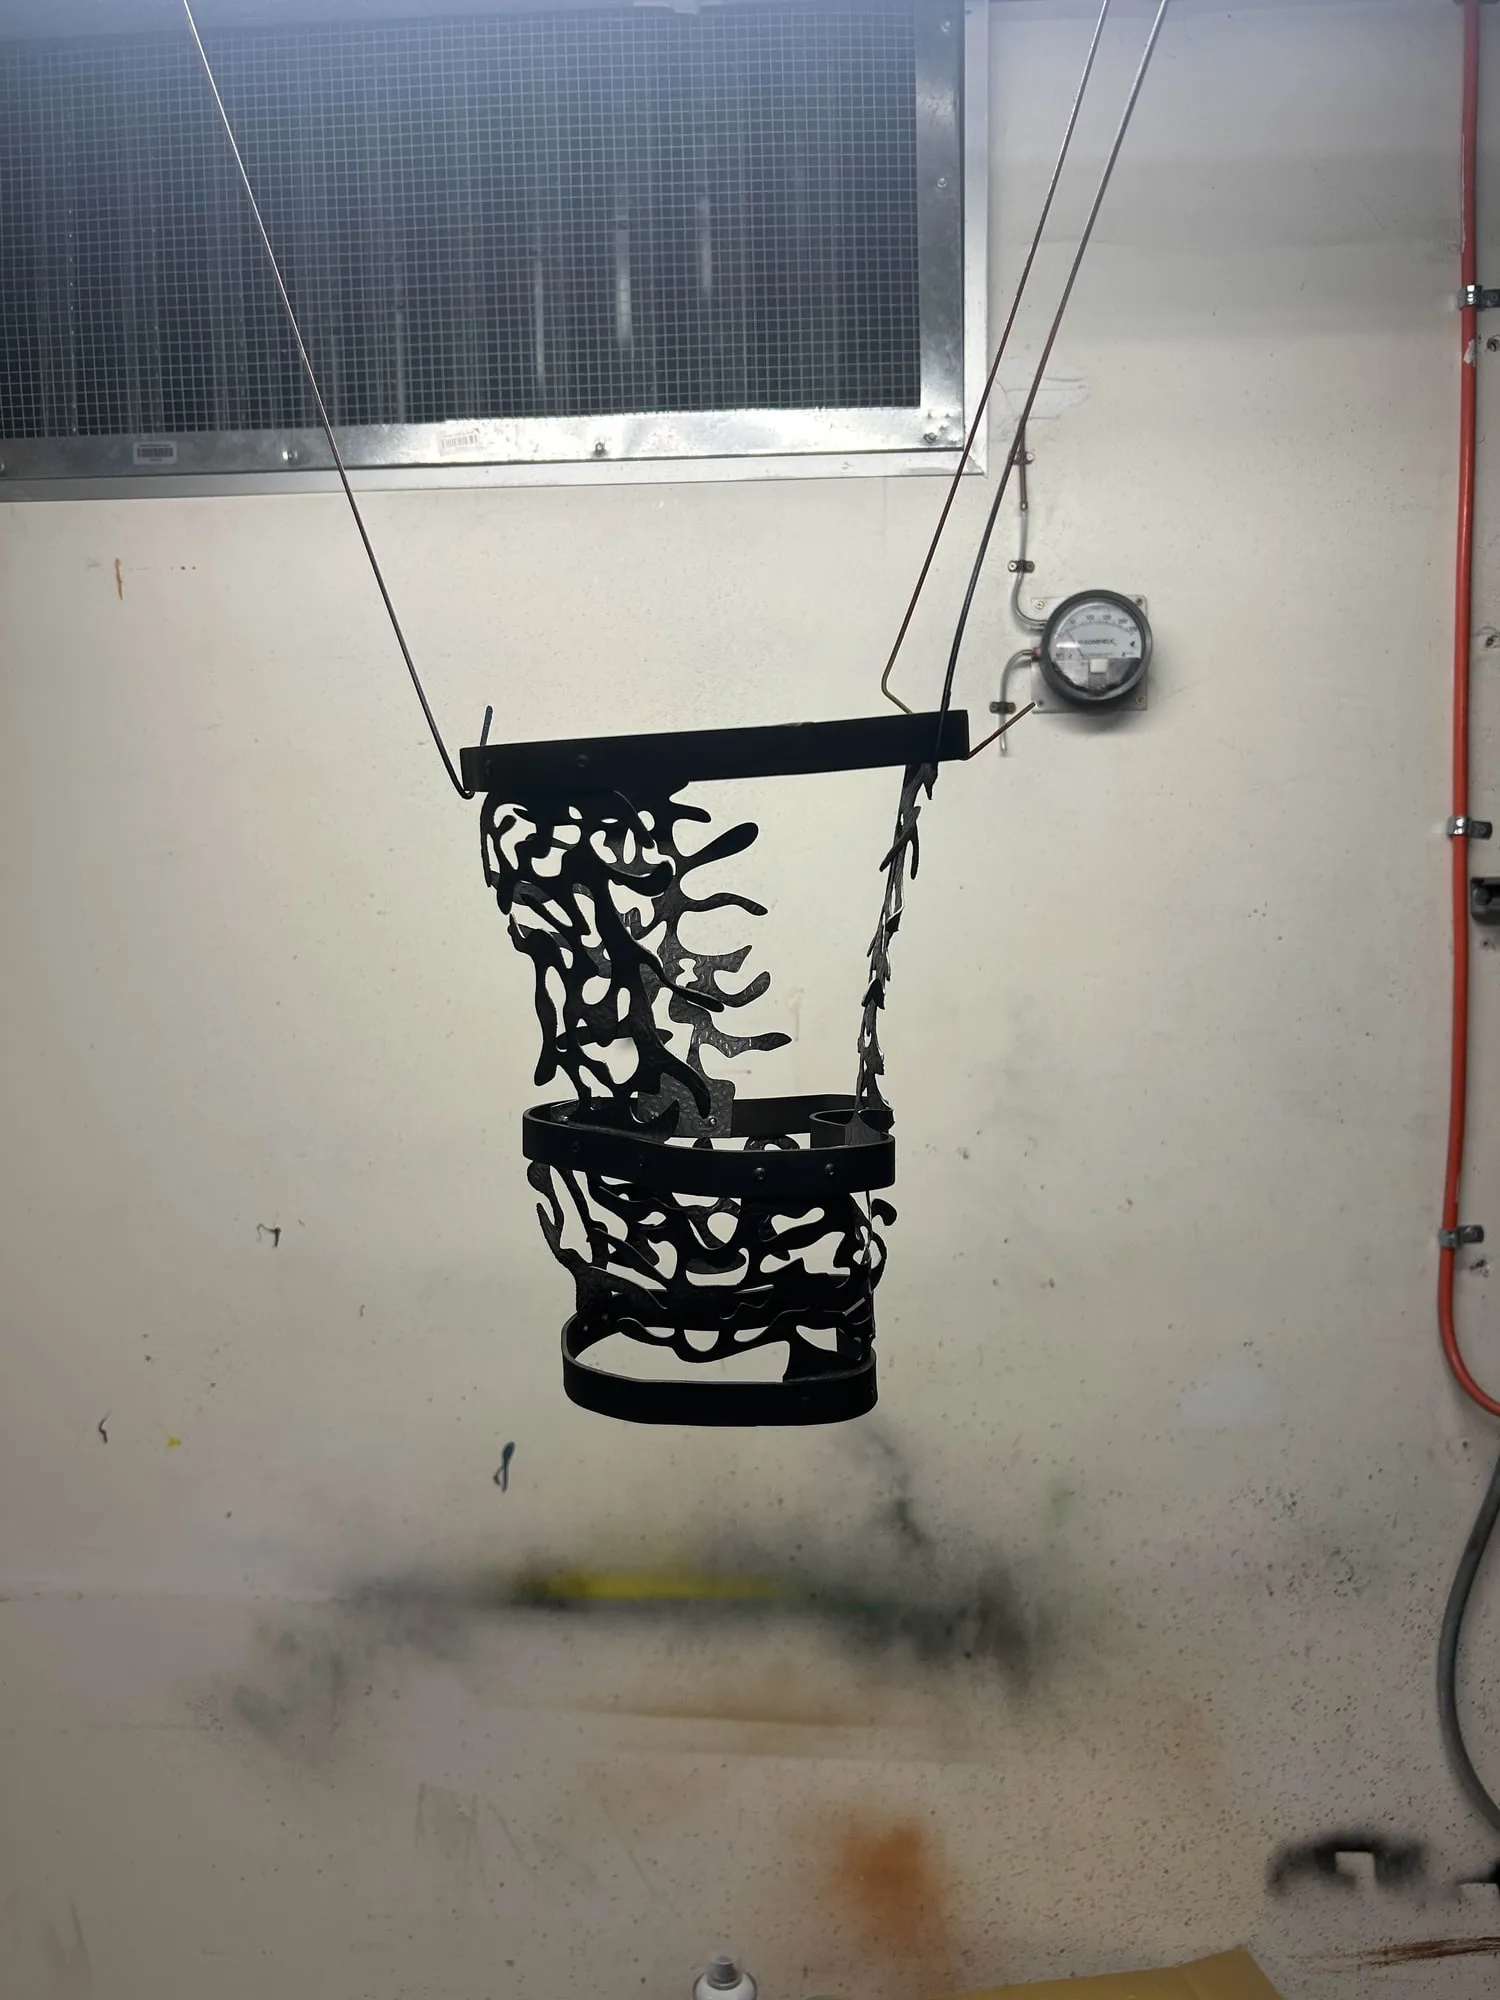
Suspended for spraying
Project specs
- Structure
- 20 × 3 mm mild steel
- Layers
- 0.6 mm stucco-pattern aluminium
- Cutting
- Metal laser cut
- Joining
- MIG welded, 5 mm rivets
- Finish
- Sandblasted, matte black
- Recognition
- ANTD 2026 finalist
Reflection
What worked, what didn't, what's next.
Successes
The final form kept the abstract, gravitational pull of the original concept while resolving the technical problems. The layered spline pattern translated into steel and aluminium, and the interplay between the inner bulb and the perforated exterior produced the luminous distortion I was after.
Setbacks
My first lighting scheme ran strip LEDs along every layer — unfeasible once I accounted for wiring, power and future maintenance, so it became a central bulb. Joining mild steel to aluminium ruled out several joinery ideas. And CAD-modelling organic spline shapes was hard enough that I moved back and forth between physical tests and digital adjustments throughout.
Next
Refining the net-layer joinery and making the spline patterns more consistent. I want to try modular or interlocking systems so the layers don't depend on rivets alone, and test more aluminium textures to strengthen the diffusion. With better tooling I'd push into CNC-bent rod or cast components, beyond flat profiles.
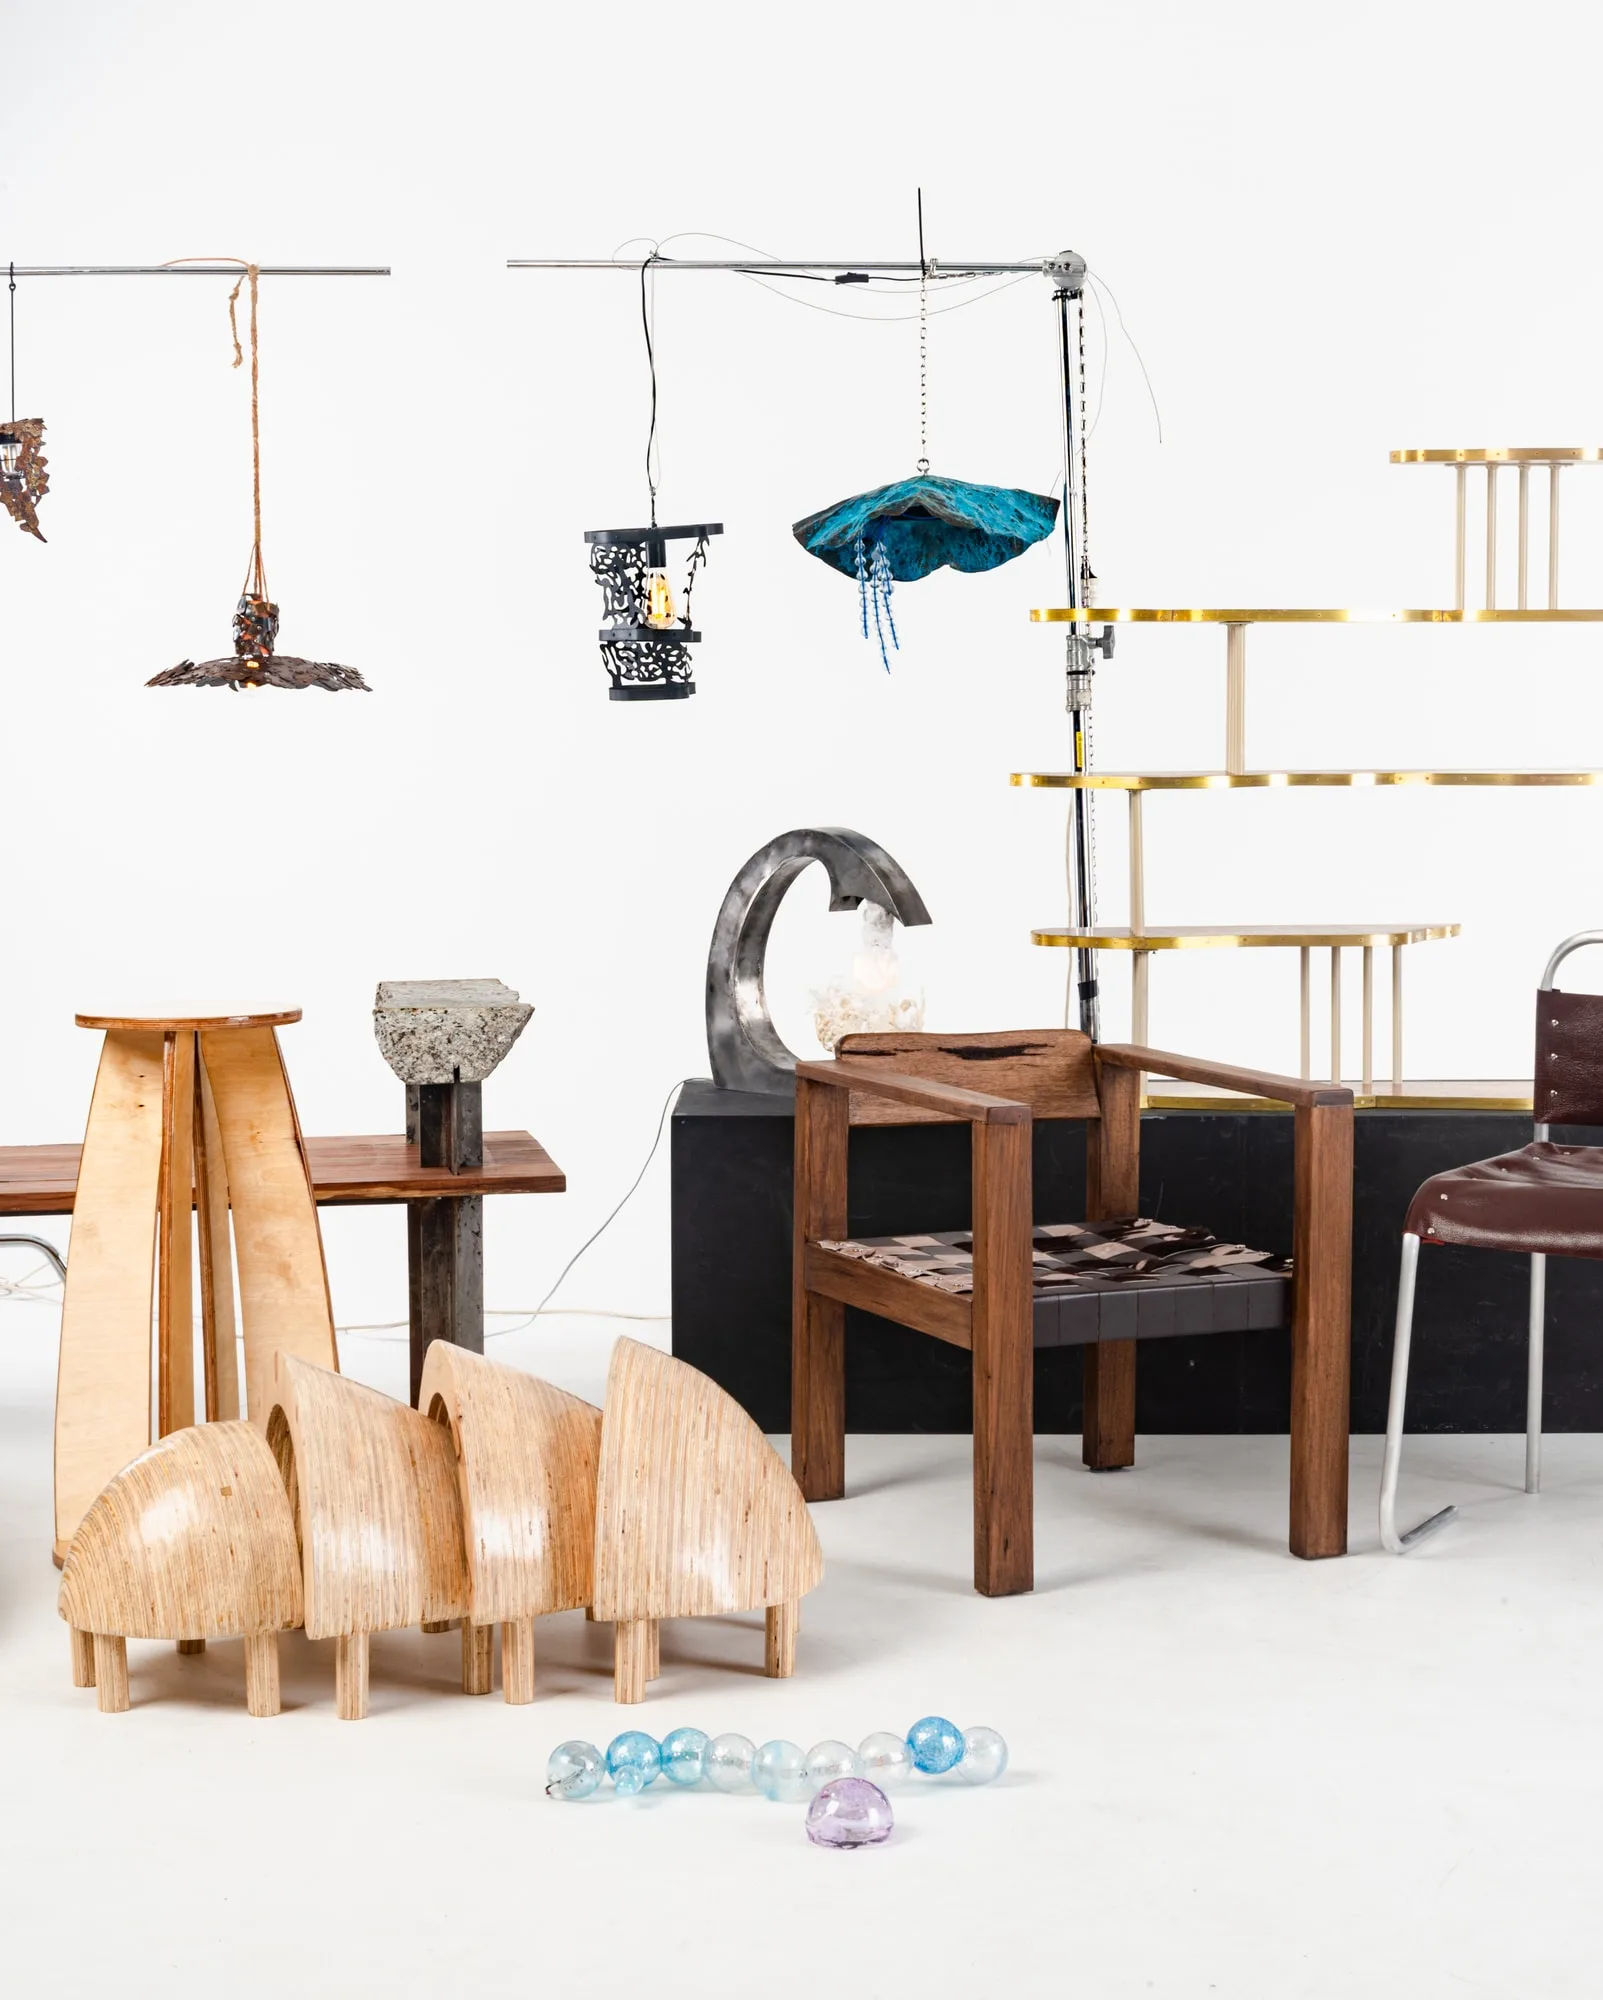
Installed — class exhibition 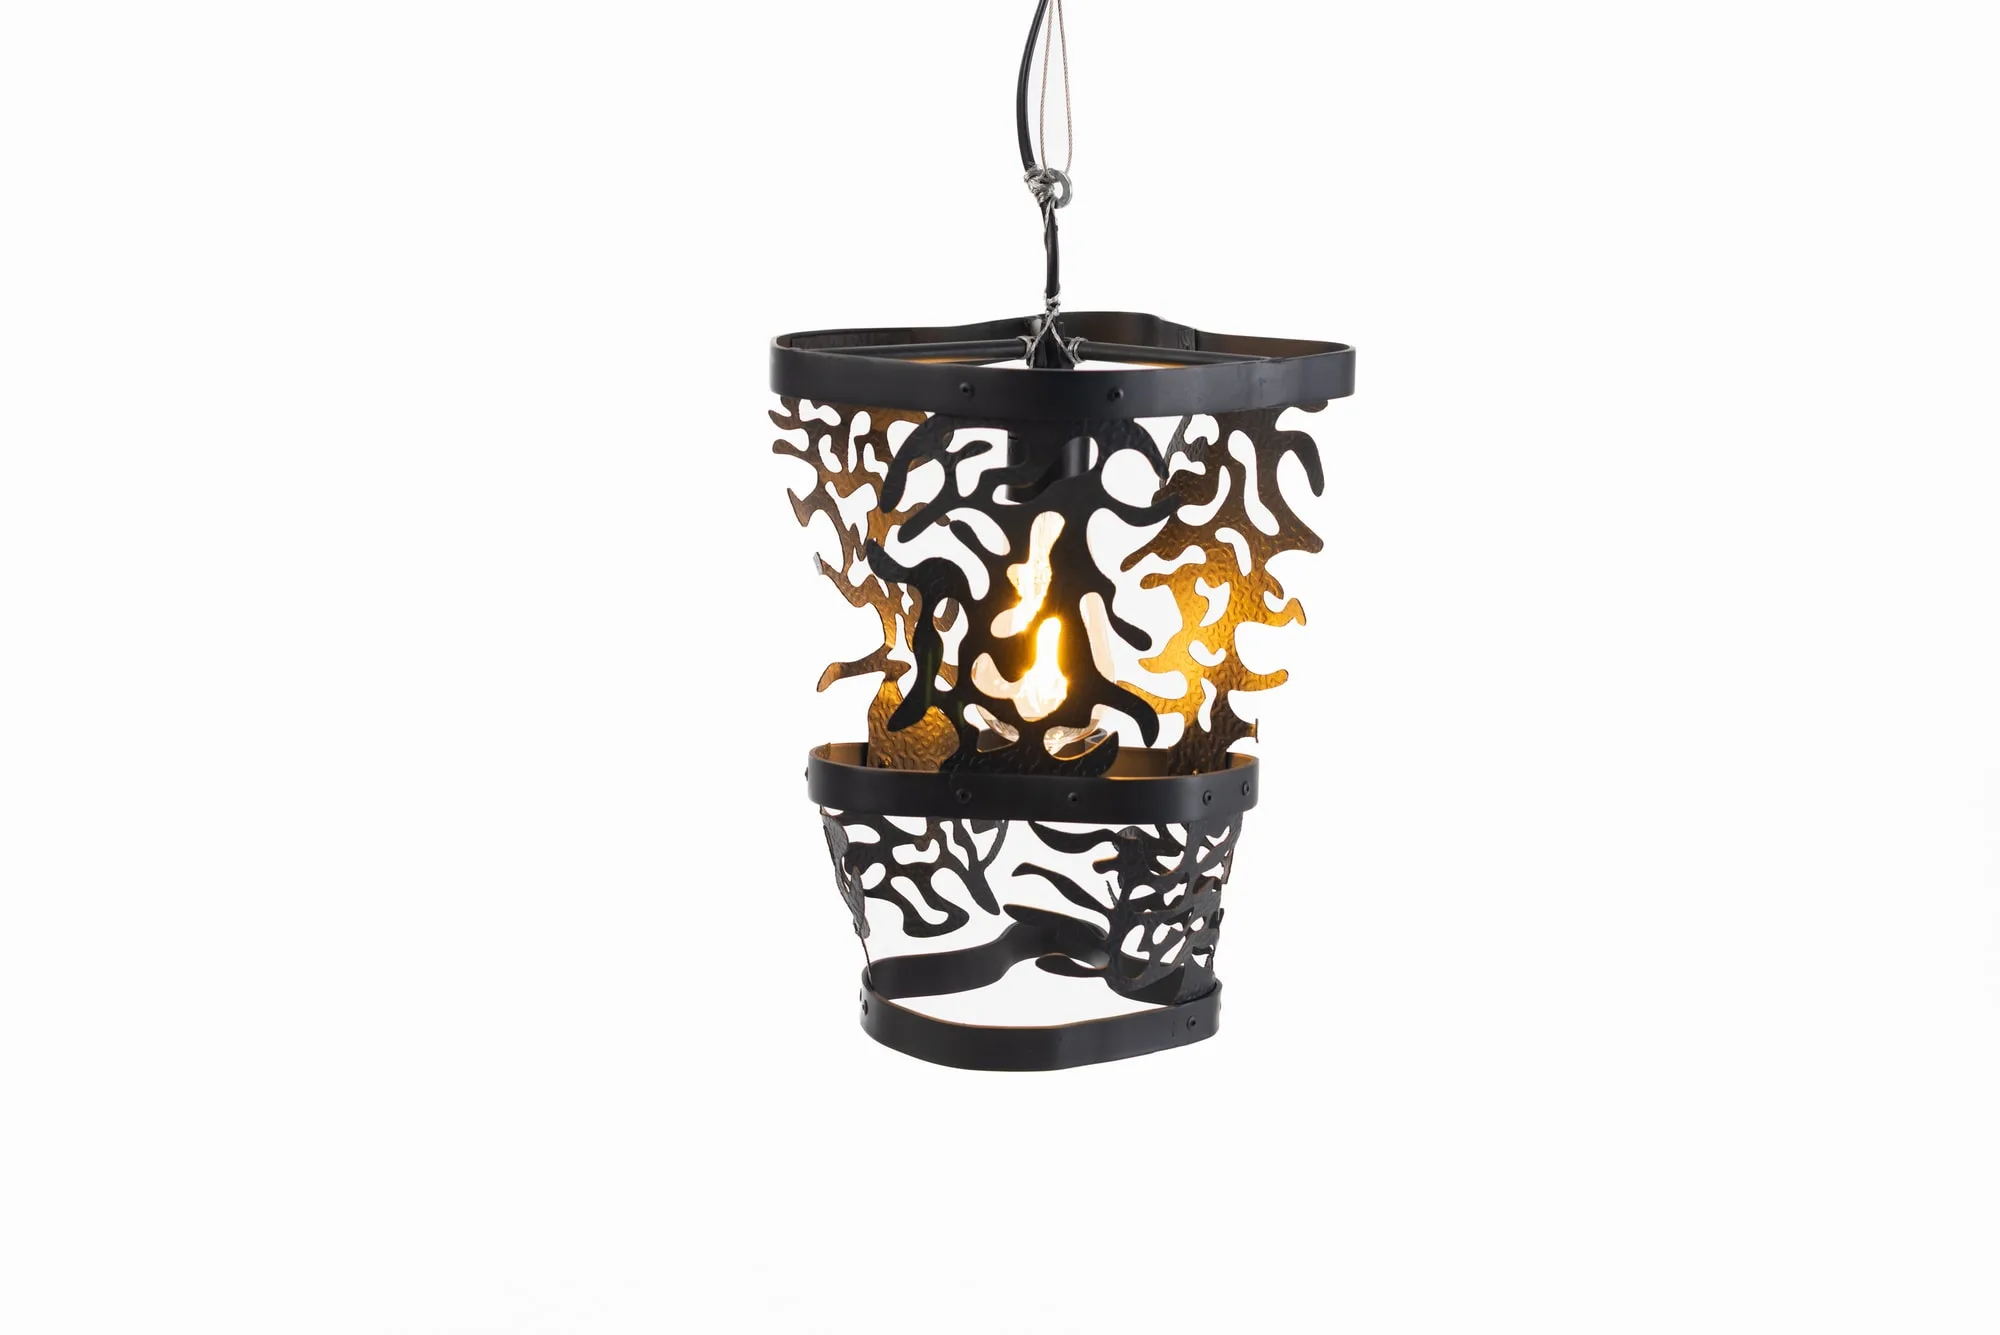
Lit — the nets glowing through 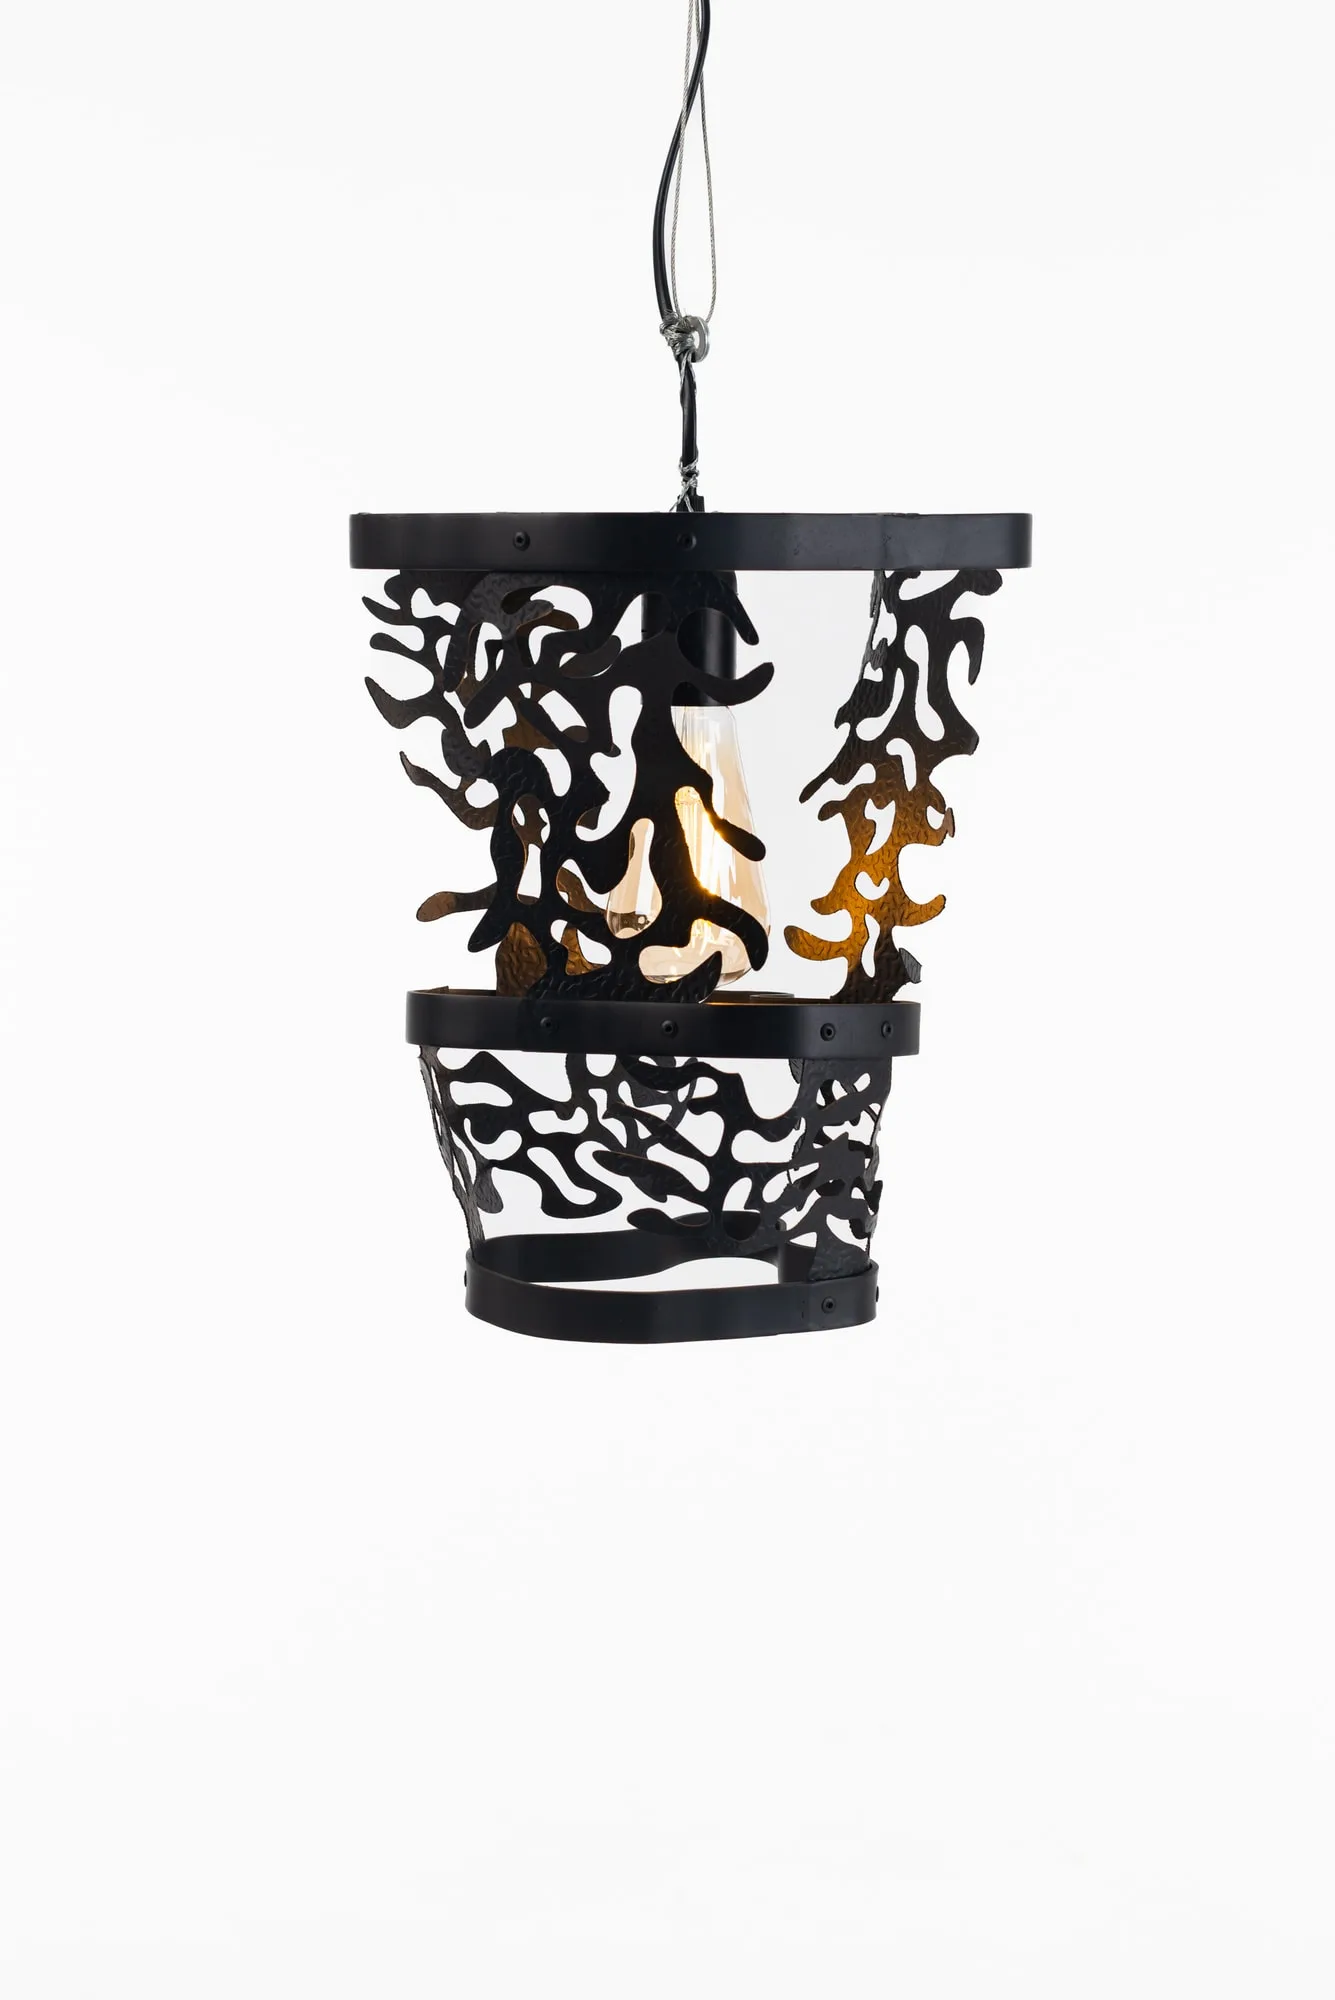
Full height
Selected as a finalist — ANTD 2026